
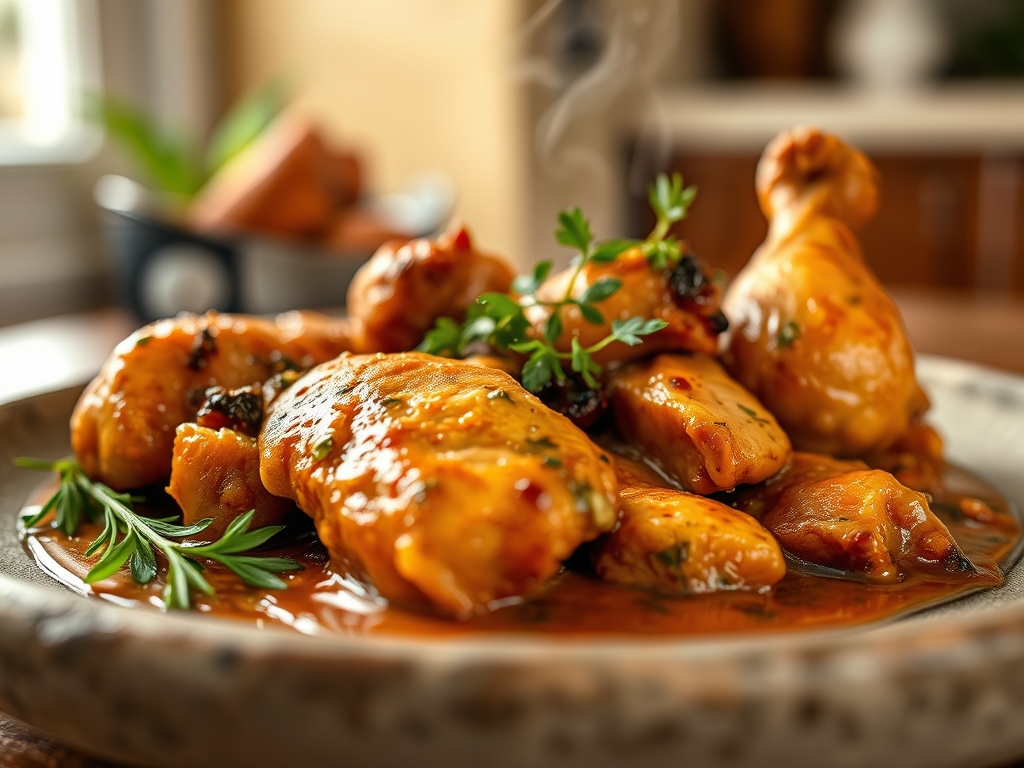
Imagine the scent of a heavy cast iron pot simmering on a Sunday afternoon. That aroma is a complex tapestry of rendered fat and sweet onions. It is the heart of southern stewed chicken recipes; a dish that transforms humble poultry into a velvet masterpiece. We are going to master the art of the slow braise together.
This is not just cooking; it is chemistry in a Dutch oven. To achieve that legendary fall-off-the-bone texture without losing the integrity of the meat, you need to understand how collagen converts to gelatin. Most southern stewed chicken recipes rely on intuition, but today, we are adding precision to that soul. We will explore how to build a flavor profile that is deep, dark, and incredibly viscous. From the initial sear to the final reduction, every movement in the kitchen serves a purpose. Grab your apron and a glass of sweet tea. We are about to turn a simple bird into a technical triumph that tastes like a warm hug from a professional chef.

The Gathers:
Before we strike a match, we must assemble our mise-en-place. Use a digital scale to ensure your flour measurements are exact; consistency is the enemy of the mediocre. You will need bone-in, skin-on chicken thighs. The bone acts as a thermal conductor, ensuring the interior reaches safe temperatures while the marrow enriches the gravy.
Your aromatics are the "Holy Trinity" of Southern cooking: onions, bell peppers, and celery. Use a sharp chef knife to create a uniform small dice. This ensures the cell walls break down at the same rate, releasing sulfurous compounds and sugars into the fat. You will also need high-quality chicken stock, unsalted butter, and all-purpose flour for the roux. For the "Smart Substitutions," if you lack fresh celery, a half-teaspoon of celery seed provides that piquant earthiness. If you are out of butter, rendered bacon fat offers a smoky, sophisticated profile that elevates the entire pot. Don't forget a microplane for fresh garlic; turning it into a paste allows it to melt into the sauce without burning during the initial sauté.
The Clock
Efficiency in the kitchen is about "Chef's Flow." Total preparation time is approximately 20 minutes, while the active cooking and simmering time will span 60 to 75 minutes. Start by searing your chicken; this is the most active phase. Once the liquid is added, the dish enters a passive phase where the low heat does the heavy lifting. Use this time to tidy your station with a bench scraper and prepare your sides. The goal is to have the chicken reach its peak tenderness exactly when your rice or biscuits are steaming hot.
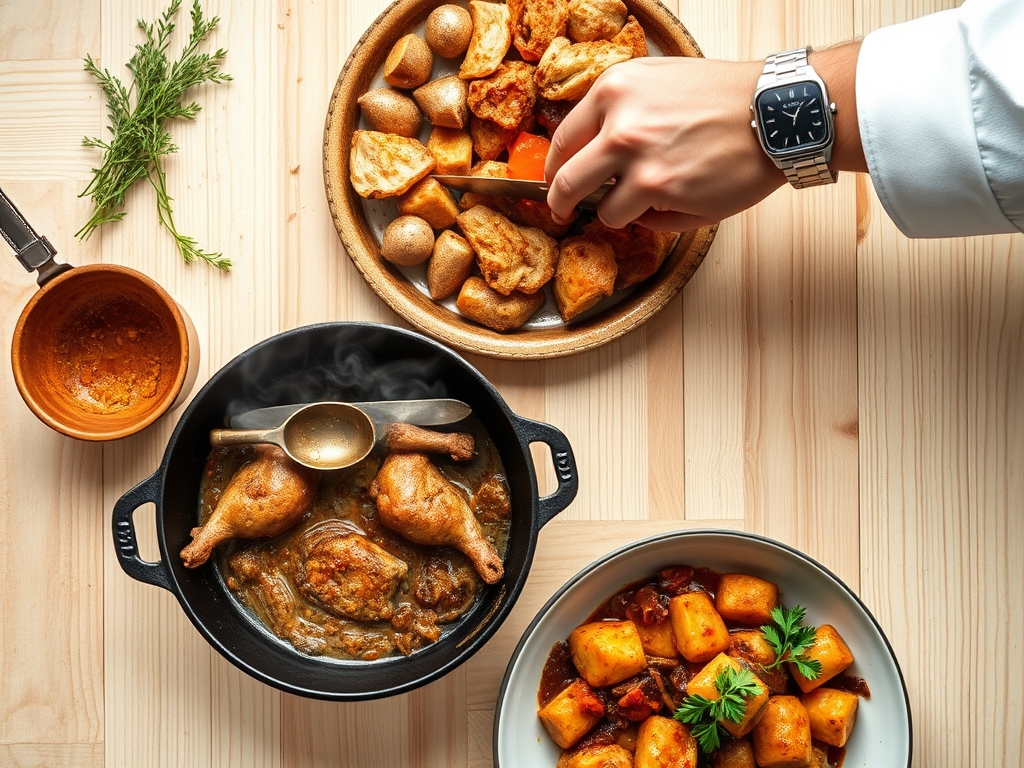
1. The Maillard Sear
Pat your chicken dry with paper towels until the skin is parchment-like. Heat your heavy-bottomed skillet or Dutch oven over medium-high heat with a splash of neutral oil. Place the chicken skin-side down and do not move it for five minutes. You are looking for a deep, mahogany crust.
Pro Tip: This is the Maillard Reaction. It is a chemical reaction between amino acids and reducing sugars that creates hundreds of different flavor compounds. If the meat is damp, it will steam instead of sear, robbing you of that savory depth.
2. Rendering the Fat
Once the chicken is seared, remove it with tongs and set it aside. You will notice a layer of liquid gold in the pan. This is rendered chicken fat, or schmaltz. If there is more than three tablespoons, spoon out the excess, but keep the brown bits (the fond) stuck to the bottom.
Pro Tip: Rendering is the process of melting fat away from the connective tissue. This fat is highly flavored and serves as the lipid base for your roux, ensuring the gravy tastes like chicken rather than just flour.
3. The Trinity Sauté
Toss your onions, peppers, and celery into the hot fat. Use a wooden spoon to scrape the bottom of the pan. The moisture from the vegetables will help deglaze the skillet, lifting those flavorful brown bits into the mix.
Pro Tip: This is sweating the vegetables. By cooking them over medium heat, you soften the cellulose without browning them further, allowing their natural sweetness to balance the salty savory notes of the meat.
4. Building the Roux
Sprinkle your flour over the softened vegetables. Stir constantly for three to four minutes until the flour smells nutty and turns the color of a latte. This coats the starch granules in fat, preventing lumps later.
Pro Tip: This process neutralizes the "raw" flour taste. The fat surrounds the starch molecules, a process called interfacial tension management, which ensures a smooth, non-gritty texture when the liquid is added.
5. The Slow Infusion
Slowly pour in your chicken stock while whisking or stirring vigorously. Return the chicken and any accumulated juices to the pot. The liquid should partially submerge the meat but leave the crispy tops exposed to maintain some texture.
Pro Tip: As the liquid heats, the starch granules swell and burst, a process called starch gelatinization. This creates the thick, viscous consistency that characterizes the best southern stewed chicken recipes.
6. The Gentle Simmer
Reduce the heat to low and cover the pot. You want a "lazy bubble," not a rolling boil. High heat toughens protein fibers, while a low simmer allows the connective tissue to melt into gelatin.
Pro Tip: This is hydrolysis. Over 45 to 60 minutes, the tough collagen in the thighs breaks down into gelatin. This provides a rich "mouthfeel" and ensures the meat is succulent rather than stringy.
7. Aerating the Sauce
Once the chicken is tender, remove the lid. If the gravy is too thin, increase the heat slightly for five minutes to reduce the volume. Taste for seasoning and add a final pat of cold butter, swirling it in at the very end.
Pro Tip: Swirling in cold butter is called monter au beurre. It creates an emulsion that adds a glossy sheen and a creamy finish to the sauce without breaking the fats.
8. The Acid Brightener
Just before serving, add a teaspoon of apple cider vinegar or a squeeze of lemon. It seems counterintuitive for a savory stew, but acid is essential for balance.
Pro Tip: Acid acts as a flavor enhancer by stimulating the salivary glands. It cuts through the heaviness of the fats, making the savory notes of the chicken "pop" on the palate.
9. Thermal Carryover Rest
Turn off the heat and let the pot sit for ten minutes before serving. This allows the muscle fibers to relax and reabsorb some of the surrounding juices.
Pro Tip: Thermal carryover means the internal temperature will continue to rise slightly even after the heat source is removed. Resting ensures the juices stay in the meat rather than spilling out onto the plate.
The Deep Dive
Nutritionally, this dish is a powerhouse of protein and minerals. A standard serving contains roughly 350 calories, 28g of protein, and 18g of fat. To make this Keto-friendly, swap the flour for a pinch of xanthan gum and use heavy cream to thicken. For a Gluten-Free version, a 1:1 GF flour blend works perfectly in the roux. If you want a Vegan alternative, use oyster mushrooms or jackfruit; they mimic the fibrous texture of chicken and absorb the savory gravy beautifully.
If your gravy is too thin, don't panic. Whisk a teaspoon of cornstarch with cold water to create a slurry and stir it into the simmering pot. If it is too salty, add a peeled, halved potato; it will act as a sponge for excess sodium. To reheat, avoid the microwave. Use a saucier on the stovetop over low heat, adding a splash of water or stock to loosen the gelatinized sauce. This preserves the "day-one" emulsion and prevents the chicken from becoming rubbery.
The Wrap-Up
Mastering southern stewed chicken recipes is a rite of passage for any serious home cook. It is a lesson in patience, heat control, and the magic of a good roux. By focusing on the science of the sear and the chemistry of the simmer, you have elevated a comfort food staple into a culinary work of art. Serve this over fluffy white rice or a pile of mashed potatoes, and watch as the room goes silent; that is the sound of true satisfaction.
The Kitchen Table
How do I keep the chicken from getting dry?
Use bone-in thighs rather than breasts. The higher fat content and the presence of bone protect the meat from drying out during the long simmering process required for a deep, flavorful gravy.
Can I make this in a slow cooker?
Yes, but you must sear the chicken and make the roux on the stovetop first. Transfer everything to the slow cooker and cook on low for six hours for the best flavor development.
Why is my gravy lumpy?
Lumps occur when liquid is added too fast to the flour and fat. To fix it, use an immersion blender to smooth the sauce, or pour it through a fine-mesh strainer before serving.
What is the best way to store leftovers?
Place the chicken and gravy in an airtight container for up to four days. The flavor actually improves overnight as the aromatics continue to infuse the liquid, making day-two stew even better.