
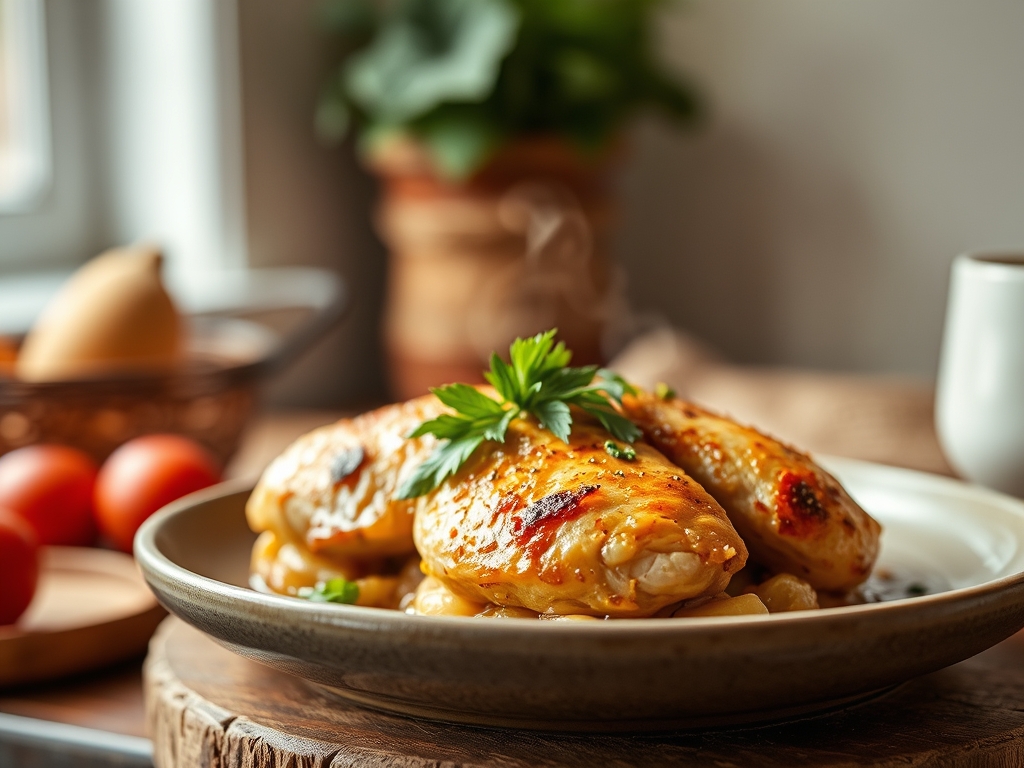
Imagine the sound of a heavy-bottomed cast iron skillet meeting a gas flame; that sharp, metallic ring is the opening bell for a culinary transformation. We are diving into the rustic, soul-warming world of chicken recipes pioneer woman style, where comfort meets the rigorous science of heat. There is a specific magic in how Ree Drummond balances farmhouse simplicity with the technical demands of a perfect sear. Whether you are craving a creamy pasta or a crispy fried thigh, these dishes rely on the Maillard reaction to turn humble poultry into gold. We are not just cooking dinner; we are engineering a sensory experience that fills the house with the scent of rendered fat and toasted herbs. Grab your apron and your favorite tongs. We are about to elevate these ranch-style classics into a masterclass of texture and flavor that would make any professional kitchen proud.
The Gathers:
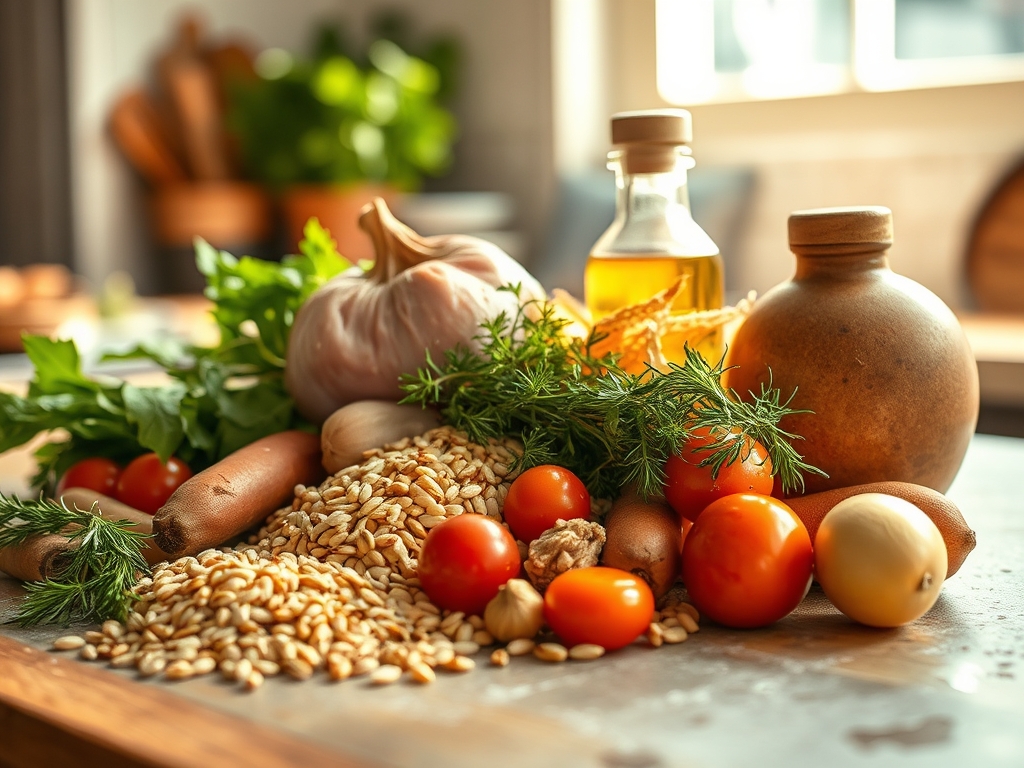
To execute these chicken recipes pioneer woman favorites, your mise-en-place must be precise. Start with the protein; look for air-chilled chicken breasts or thighs. Air-chilling prevents excess water absorption, ensuring your sear is crisp rather than steamed. You will need a high-quality fat source, typically a combination of unsalted butter for flavor and a high-smoke-point oil like avocado or grapeseed oil to prevent scorching.
Next, gather your aromatics. Use a microplane to zest lemons and grate fresh garlic into a fine paste; this increases surface area and allows the volatile oils to infuse the fat more efficiently. For the creamy sauces, reach for heavy cream with a high milk-fat content to ensure a stable emulsion that wont break under high heat.
Smart Substitutions:
If you are out of buttermilk for fried preparations, whisk whole milk with a tablespoon of lemon juice to trigger the denaturation of proteins, mimicking the tangy tenderizing power of the original. For a lower-sodium profile, swap standard chicken broth for a homemade bone broth infused with mirepoix, which adds a viscous mouthfeel due to the extracted collagen without the salt spike.
The Clock
Efficiency in the kitchen is all about "Chef's Flow." For most chicken recipes pioneer woman enthusiasts adore, expect a total commitment of 45 to 60 minutes. Preparation usually takes 20 minutes; this includes slicing, dredging, and organizing your workstation. The active cooking time spans 25 to 30 minutes.
The flow begins with the "High-Heat Phase," where you sear the meat to develop a crust. This is followed by the "Reduction Phase," where liquids like wine or stock are added to deglaze the pan. Finally, the "Resting Phase" is non-negotiable. Allowing the chicken to sit for five minutes post-cook allows the muscle fibers to relax and reabsorb juices, ensuring every bite is succulent rather than dry.
The Masterclass

1. The Critical Sear
Pat the chicken dry with paper towels until the surface is completely matte. Heat your skillet until the oil shimmers. Lay the chicken away from you to avoid splashes and do not move it for at least four minutes.
Pro Tip: This relies on the Maillard reaction, a chemical dance between amino acids and reducing sugars. Moving the meat too early disrupts the formation of this flavorful crust and causes the proteins to stick to the pan surface.
2. Deglazing the Fond
Once the chicken is removed, you will see brown bits stuck to the bottom; this is "fond." Pour in a piquant liquid like dry white wine or chicken stock and use a wooden spoon to scrape the bottom.
Pro Tip: Deglazing is a solvent-based extraction. The heat and liquid dissolve the caramelized proteins, incorporating deep, savory notes back into your sauce that cannot be replicated with spices alone.
3. Emulsifying the Sauce
Lower the heat before adding cream or cold butter cubes. Whisk constantly in a circular motion to marry the fats and liquids into a smooth, glossy coating.
Pro Tip: You are creating a colloidal suspension. Keeping the heat low prevents the milk solids from curdling and ensures the sauce remains viscous and velvety rather than oily and separated.
4. Aerating the Garnish
Finely mince fresh parsley or chives and sprinkle them from a height just before serving.
Pro Tip: Adding herbs at the very end preserves their volatile aromatic compounds. High heat destroys the delicate enzymes that give fresh herbs their bright, "green" flavor profile.
5. Managing Thermal Carryover
Remove the chicken from the heat when a digital thermometer reads 160 degrees Fahrenheit, even though the target is 165.
Pro Tip: Thermal carryover means the internal temperature will continue to rise by 5 degrees while resting. Pulling it early prevents the proteins from tightening and squeezing out moisture.
6. The Glaze Application
If the recipe calls for a honey or balsamic glaze, apply it in the final two minutes of cooking.
Pro Tip: Sugars have a low combustion point. Applying them too early leads to carbonization (burning), while a late application creates a perfect, tacky lacquer through controlled evaporation.
7. Balancing Acidity
Always finish the dish with a squeeze of fresh lemon or a teaspoon of vinegar.
Pro Tip: Acid acts as a flavor brightener by cutting through the richness of the fats. It resets the palate and enhances the perception of salt without actually adding sodium.
8. The Resting Period
Transfer the finished chicken to a warm plate and tent loosely with foil.
Pro Tip: This allows for pressure equalization. During cooking, heat pushes juices toward the center; resting allows them to migrate back to the edges, ensuring a uniform texture.
The Deep Dive
Macro Nutrition: On average, these hearty chicken recipes provide 35g of protein and 25g of fat per serving. While they are protein-dense, they are also calorie-rich due to the traditional use of butter and cream.
Dietary Swaps: To make these Keto-friendly, omit the flour dredge and use almond flour or crushed pork rinds. For a dairy-free version, use full-fat coconut milk; the lauric acid provides a similar creaminess to heavy cream. To go Gluten-Free, ensure your chicken stock is certified and use cornstarch or arrowroot as a thickener.
The Fix-It:
- Rubbery Chicken: This usually means it was overcooked. Next time, use a meat mallet to even out the thickness for uniform heat distribution.
- Broken Sauce: If your sauce looks oily, whisk in a tablespoon of hot water or a splash of heavy cream very quickly to re-emulsify the fats.
- Bland Flavor: You likely under-salted the interior. Salt your chicken at least 30 minutes before cooking to allow for osmotic penetration.
Meal Prep: When reheating, avoid the microwave. Use a small saucier on the stovetop with a splash of broth. This uses conductive heating to warm the chicken without turning the texture into rubber.
The Wrap-Up
Mastering chicken recipes pioneer woman style is about more than following a list of ingredients; it is about respecting the chemistry of the kitchen. By focusing on the sear, the deglaze, and the rest, you transform a standard weeknight meal into a rustic feast. These dishes are designed to be shared, so don't be afraid to get a little flour on your counter and a lot of flavor in your pan. Your kitchen is now a laboratory of comfort.
The Kitchen Table
How do I keep chicken breast from getting dry?
Use a digital thermometer to pull the chicken at 160 degrees Fahrenheit. Allow it to rest for five minutes so the fibers reabsorb moisture. This prevents the "sawdust" texture common in overcooked white meat.
Can I use frozen chicken for these recipes?
Yes, but you must thaw it completely in the refrigerator first. Excess ice crystals cause "steam-shunting" in the pan, which prevents the Maillard reaction and results in a grey, rubbery exterior instead of a golden crust.
What is the best pan for Pioneer Woman chicken?
A heavy-bottomed stainless steel or cast iron skillet is best. These materials have high thermal mass, meaning they hold heat steadily when the cold meat hits the surface, ensuring a superior sear and even cooking.
How do I get the sauce to stick to the pasta?
Finish the pasta directly in the sauce with a splash of starchy pasta water. The starch acts as a binding agent, creating an emulsion that helps the viscous sauce cling to every noodle perfectly.