
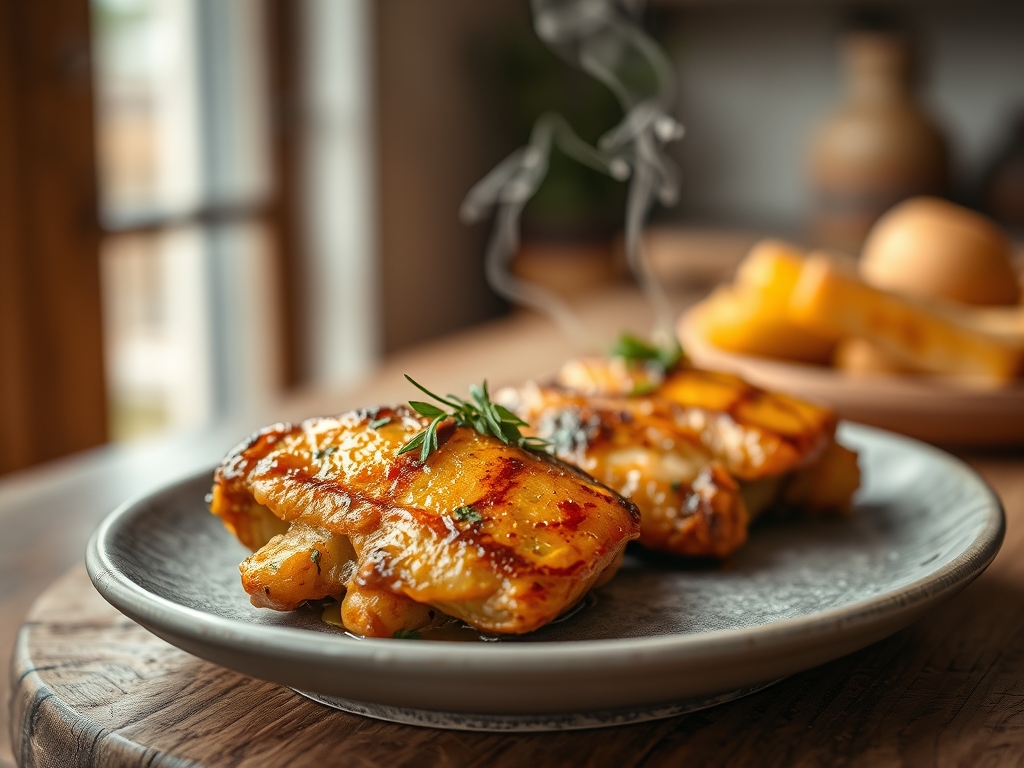
Imagine the scent of hardwood smoke mingling with the sharp, acidic bite of apple cider vinegar as it hits a searing grill. We are chasing that elusive, rugged char that defines the best cowboy chicken recipes; a culinary tradition rooted in high heat, bold spices, and the perfect balance of sweet and savory. This is not just backyard cooking; it is a masterclass in fire management and protein chemistry designed to satisfy the hungriest ranch hand.
The secret to these recipes lies in the intersection of smoke and sugar. When you apply flame to a bird slathered in a robust rub, you are initiating a complex dance of amino acids and reducing sugars. We are going to explore ten distinct variations, from honey-chipotle glazes to coffee-rubbed thighs, ensuring every bite is a testament to the power of the open flame. Grab your apron and your sturdiest tongs; we are about to turn your patio into a high-end chuckwagon.
The Gathers:
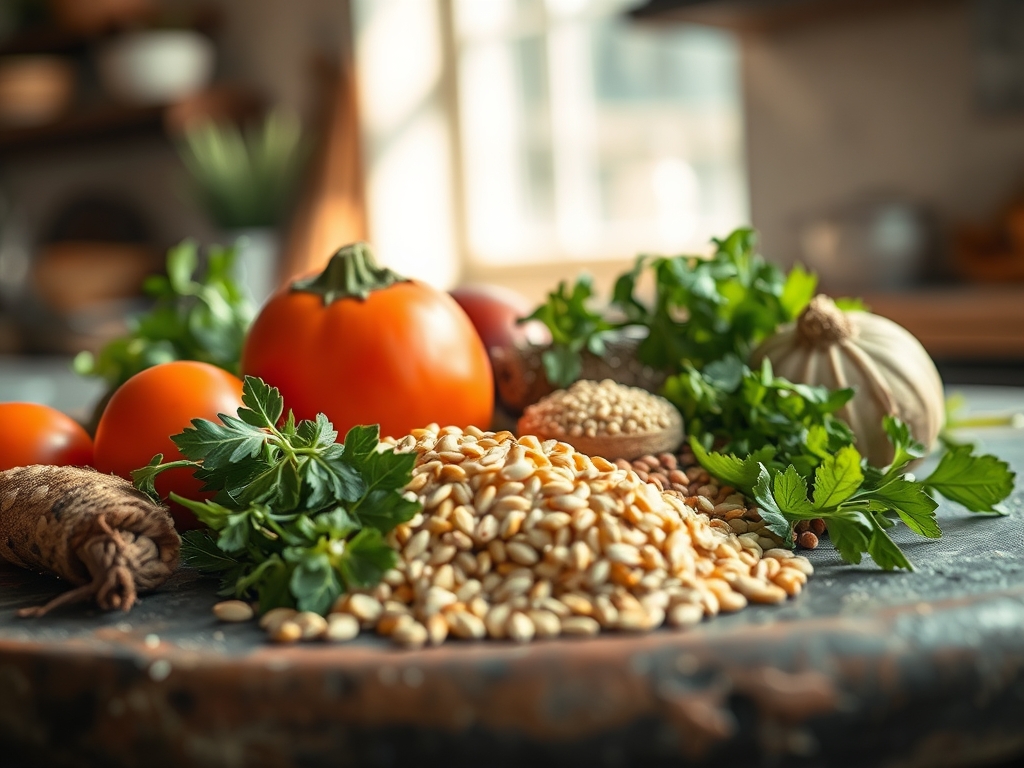
To execute these cowboy chicken recipes with precision, your mise-en-place must be impeccable. You will need high-quality poultry, preferably air-chilled to ensure the skin remains dry for maximum crisping. Your pantry should feature smoked paprika for that deep, earthy hue and dark brown sugar for its high molasses content, which aids in creating a viscous glaze. Do not forget the aromatics: fresh garlic, cracked black pepper, and perhaps a touch of cumin to ground the flavor profile.
For your "Smart Substitutions," consider the science of acidity. If you lack apple cider vinegar, a splash of pineapple juice provides the necessary pH drop while introducing bromelain, an enzyme that further tenderizes the muscle fibers. If you are avoiding refined sugar, use maple syrup or honey; just be aware that their lower burn points require more vigilant temperature monitoring. Always use a microplane to zest your citrus or grate your garlic to ensure a uniform distribution of essential oils throughout your marinade.
The Clock
Efficiency in the kitchen is about understanding the "Chef's Flow." For these recipes, expect a total commitment of about 90 minutes. You will spend 20 minutes on prep, which includes trimming the fat and applying your dry rubs to allow for osmotic penetration. The chicken needs at least 30 minutes to marinate, though two hours is the sweet spot for flavor infusion without turning the meat mushy.
The actual grilling time varies by cut. Bone-in thighs require approximately 25 to 30 minutes over indirect heat to reach internal safety, while breasts cook faster but are prone to drying out. By synchronizing your sides, like a charred corn salad or cast-iron beans, with the chicken's resting period, you ensure every component hits the table at the peak of its thermal journey.
The Masterclass
1. The Dry Brine Protocol
Start by patting your chicken completely dry with paper towels. Rub a mixture of kosher salt and spices over every inch, including under the skin. Place the pieces on a wire rack over a baking sheet to allow for 360-degree air circulation.
Pro Tip: This process utilizes osmosis to draw moisture out of the skin and then pull the seasoned brine deep into the muscle. This ensures the meat remains juicy even when exposed to the intense, dehydrating heat of the grill.
2. Calibrating the Heat Zones
Set up your grill for two-zone cooking. Pile your charcoal on one side or ignite only half of your gas burners. This creates a searing station and a gentle roasting station, giving you total control over the Maillard reaction.
Pro Tip: By starting the chicken on the cool side, you allow the internal temperature to rise slowly. This prevents the exterior from burning before the connective tissues have a chance to gelatinize, resulting in a more tender texture.
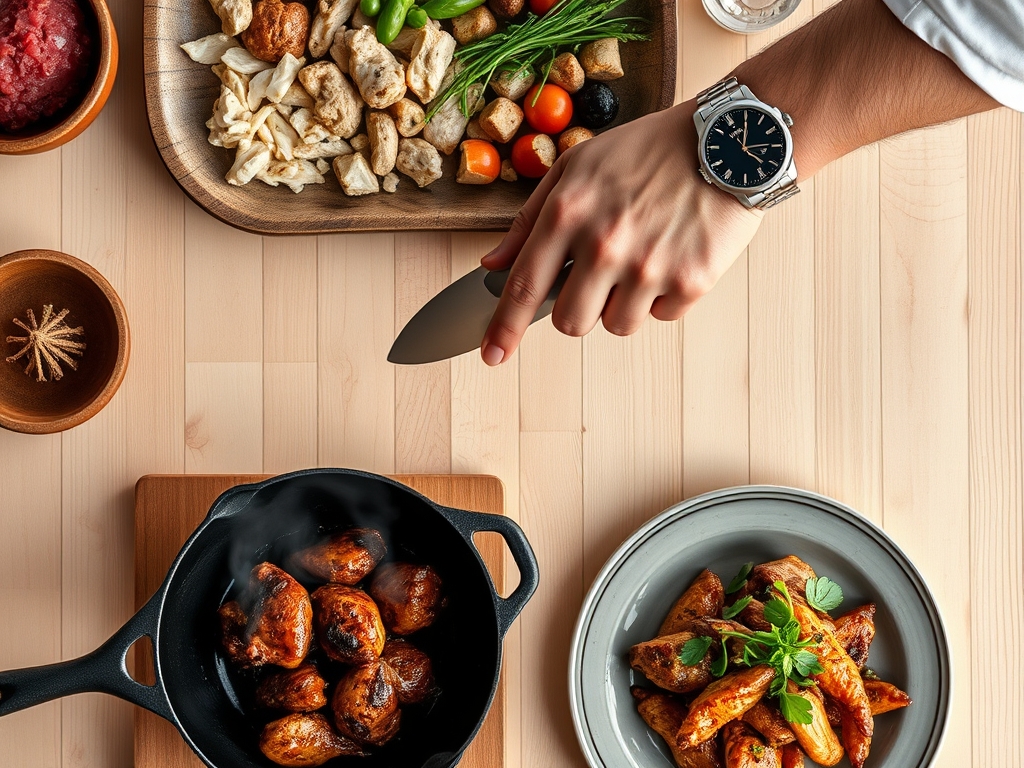
3. The Sear and Render
Once the internal temperature hits 135 degrees Fahrenheit, move the chicken to the direct heat side. Place it skin-side down to render the subcutaneous fat. Use your tongs to press the meat firmly against the grates for those iconic grill marks.
Pro Tip: Fat rendering is a thermal process where solid fat turns to liquid. If you do not render the fat properly, the skin will be rubbery rather than crisp. The high heat also triggers pyrolysis, adding that signature smoky bitterness.
4. The Glaze Application
During the final five minutes of cooking, use a silicone brush to apply your chosen cowboy sauce. Apply thin layers, allowing each layer to "set" and become viscous before adding the next. This builds a lacquered finish that clings to the meat.
Pro Tip: Most cowboy sauces contain sugar, which undergoes caramelization at 320 degrees Fahrenheit. Applying it too early will cause it to carbonize and taste burnt; waiting until the end creates a sweet, complex crust.
5. The Rest and Carryover
Remove the chicken from the grill when it is 5 degrees below your target temperature. Place it on a warm platter and tent loosely with foil. Let it rest for at least ten minutes before slicing.
Pro Tip: Thermal carryover means the internal temperature will continue to rise after the meat is removed from the heat. Resting also allows the muscle fibers to relax and reabsorb the juices, preventing them from spilling out on your cutting board.
The Deep Dive
From a macro perspective, these cowboy chicken recipes are powerhouse meals. A standard serving provides roughly 35 grams of protein and 15 grams of fat, depending on the cut. For those on a Keto journey, simply omit the sugar in the rub and use a mustard-based sauce. For a vegan twist, the same spice profiles work beautifully on "steaks" of cauliflower or firm tofu, though you should reduce the cooking time significantly to avoid total moisture loss.
Even the best chefs hit snags. If your skin is soggy, your grill wasn't hot enough or the chicken was too wet; fix this by finishing the bird under a high broiler for two minutes. If the meat is dry, you likely bypassed the resting phase or overcooked it; a quick splash of warm chicken stock can help rehydrate the fibers. If the sauce is too thin, simmer it in a saucier with a touch of cornstarch slurry until it coats the back of a spoon.
For meal prep, reheating is a science. Avoid the microwave, which vibrates water molecules and turns chicken into rubber. Instead, use an air fryer or a 350-degree oven. This re-activates the fats in the skin, restoring that "day-one" crunch and keeping the interior moist.
The Wrap-Up
Mastering these cowboy chicken recipes is about more than just following a list of ingredients; it is about respecting the chemistry of the flame. By focusing on dry brining, two-zone grilling, and the perfect glaze timing, you elevate a simple bird into a legendary feast. Whether you are feeding a crowd or prepping for the week, these bold flavors and technical tips ensure your grill game is unrivaled. Now, get out there and let that smoke work its magic.
The Kitchen Table
Why is my grilled chicken always dry?
Chicken dries out when overcooked or not rested. Use a digital thermometer to pull the meat at 160 degrees Fahrenheit. Resting for ten minutes allows juices to redistribute, ensuring a moist, tender result every time you grill.
Can I use frozen chicken for these recipes?
Yes, but it must be fully thawed in the refrigerator first. Excess moisture from ice crystals prevents the Maillard reaction, leading to grey, steamed meat. Always pat the thawed chicken dry before applying your dry rub or oil.
What is the best wood for cowboy flavor?
Hickory and mesquite are the gold standards for cowboy-style cooking. They provide a pungent, earthy smoke that stands up to bold spices. For a subtler profile, use oak or pecan to complement the natural sweetness of the glazes.
How do I stop the sauce from burning?
The sugar in BBQ sauce burns quickly. Apply your glaze only during the final five to ten minutes of cooking over indirect heat. This allows the sauce to thicken and caramelize without turning into bitter, black carbon.