
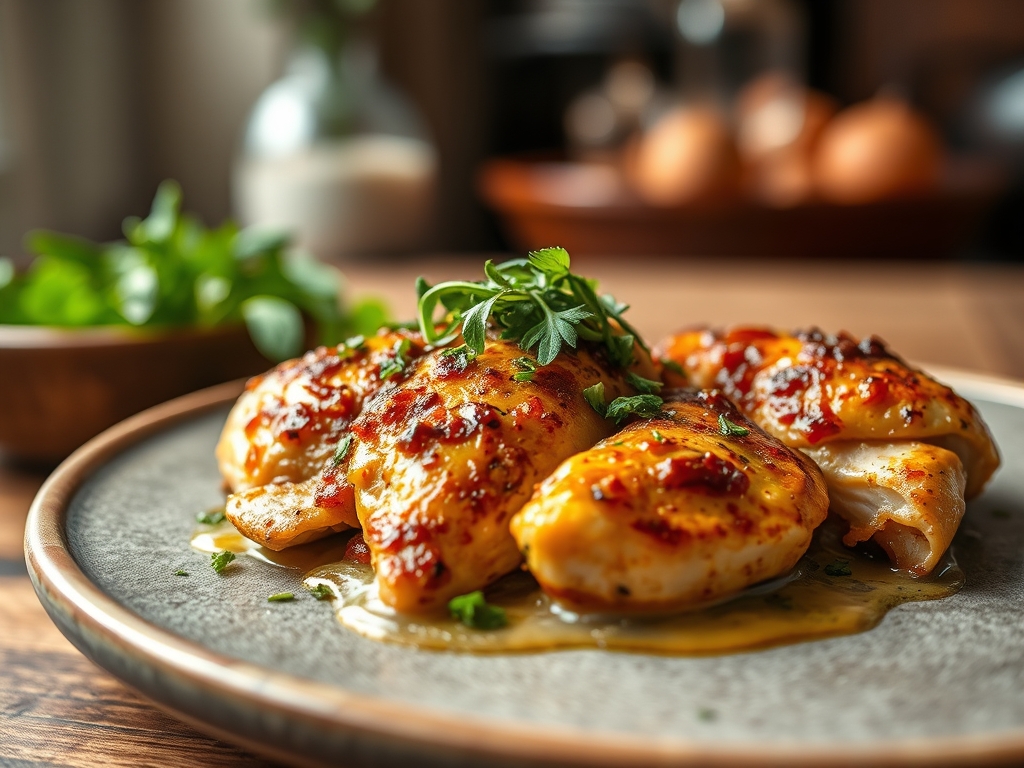
Imagine the scent of toasted garlic and dried dill hitting a hot oven rack; it is the olfactory equivalent of a warm hug from someone who also happens to have a PhD in flavor. When you are hunting for the ultimate ranch baked chicken recipes, you are not just looking for dinner. You are looking for that perfect intersection of creamy buttermilk tang and the shattering crunch of a golden crust. This is the meal that saves Tuesday nights while tasting like a Sunday feast. It is about more than just tossing a packet of seasoning on a tray; it is about mastering the chemistry of moisture retention and the glorious alchemy of the Maillard reaction.
The magic happens when the lactic acid in the ranch base begins to break down tough muscle fibers, resulting in a protein that is impossibly tender. We are moving past the soggy, lackluster chicken of the past. Today, we are engineering a crust that stays crisp while the interior remains a fountain of savory juice. Whether you prefer a heavy coating of panko or a naked, herb-crusted breast, the principles of heat transfer and fat emulsification remain the same. Grab your favorite apron and clear the counter. We are about to turn a pantry staple into a culinary masterpiece that will make your kitchen the most popular room in the house.
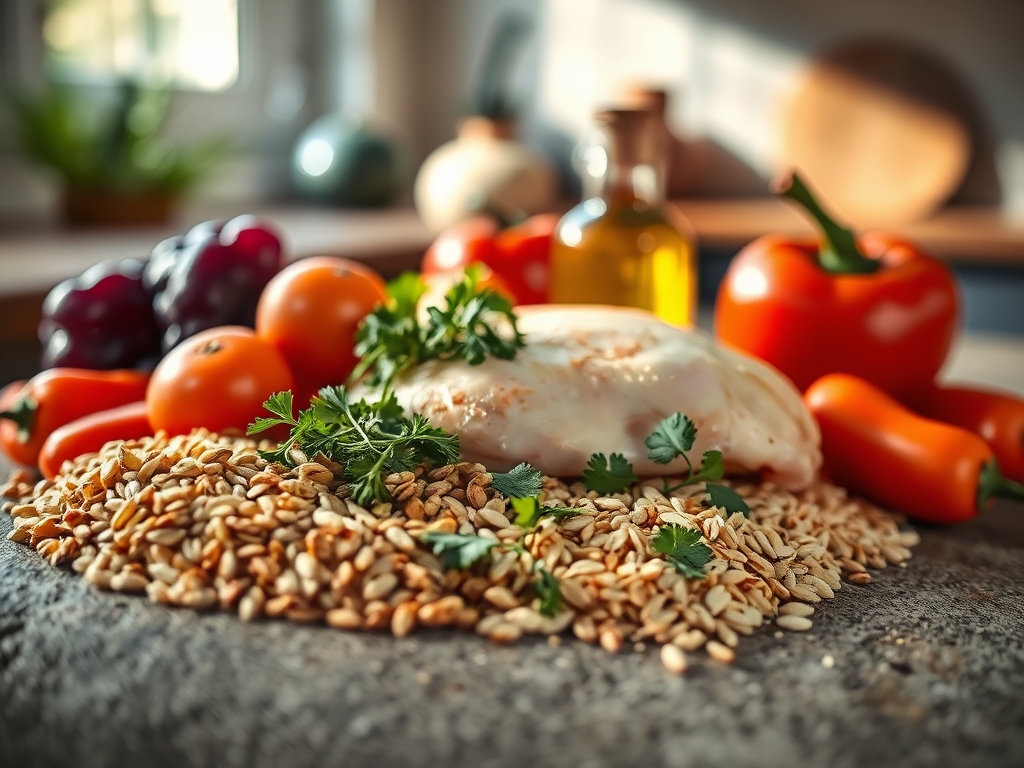
The Gathers:
To execute these ranch baked chicken recipes with precision, your mise-en-place must be flawless. Start with high-quality chicken breasts or thighs; look for air-chilled poultry to avoid excess water weight that can steam the meat rather than sear it. Your ranch component requires a viscous base. I recommend a combination of full-fat Greek yogurt and high-quality mayonnaise. The yogurt provides the necessary acidity to tenderize, while the mayo offers the stable fat content required for a rich mouthfeel.
For the dry aromatics, you will need dried chives, parsley, and dill. Use a microplane to grate fresh garlic into a paste; this ensures the flavor is evenly distributed without the risk of biting into a raw chunk. If you are going for a breaded version, panko breadcrumbs are non-negotiable for their superior surface area.
Smart Substitutions: If you are dairy-free, swap the yogurt for a silken tofu puree blended with lemon juice. For a low-carb profile, replace breadcrumbs with crushed pork rinds or almond flour. If you lack fresh garlic, a high-quality garlic oil can infuse the dish with that piquant punch without the moisture of fresh cloves. Always use a digital scale to measure your dry ingredients if you want consistent, repeatable results every single time.
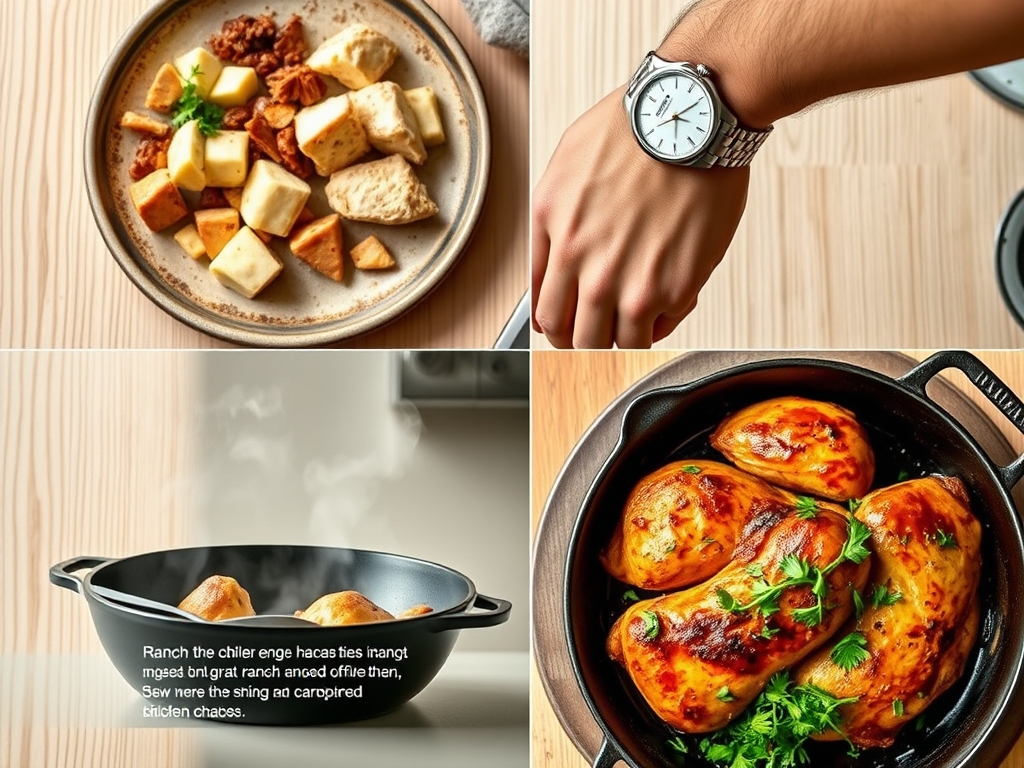
The Clock
Efficiency in the kitchen is all about the "Chef's Flow." Total active prep time for these ranch baked chicken recipes is approximately 15 minutes, with a cook time ranging from 18 to 25 minutes depending on the thickness of your protein.
The flow begins with the "Pre-Heat Prime." Your oven should be screaming at 425 degrees Fahrenheit before the chicken even touches the pan. While the oven stabilizes, you perform the "Coating Cadence." This is the systematic dipping and dredging that ensures every millimeter of the chicken is shielded. Finally, the "Resting Phase" is the most overlooked part of the clock. You must allow 5 to 8 minutes of rest post-bake to allow the internal juices to redistribute. If you cut too soon, you lose the moisture to the cutting board.
The Masterclass
1. The Acidic Brine
Start by coating your chicken in the ranch yogurt base. This acts as a marinade and a glue. The lactic acid works to denature the proteins slightly, allowing for a more tender bite.
Pro Tip: This is the science of enzymatic tenderization. By letting the chicken sit in the yogurt mixture for just 20 minutes before baking, you create a chemical barrier that prevents the meat from drying out under high heat.
2. The Aerated Dredge
If using breadcrumbs, toss them with a bit of melted butter or olive oil before coating. Use a bench scraper to keep your station clean as you press the crumbs into the chicken.
Pro Tip: Pre-fatting your crumbs ensures uniform browning. Since the chicken cooks quickly, the crumbs need that extra fat to reach a golden hue at the same time the meat reaches its safe internal temperature.
3. The Elevated Bake
Place your chicken on a wire rack set inside a rimmed baking sheet. This allows hot air to circulate under the meat, preventing a soggy bottom.
Pro Tip: This utilizes convection heat transfer. By elevating the meat, you ensure the bottom "renders" and crisps just as effectively as the top, avoiding the dreaded "wet breading" syndrome.
4. The Thermal Check
Use a digital meat thermometer to pull the chicken at 160 degrees Fahrenheit. Do not wait for 165 degrees while it is still in the oven.
Pro Tip: This accounts for thermal carryover. The internal temperature will continue to rise by 5 degrees as the chicken rests. Pulling it early ensures the meat stays at the peak of succulence.
5. The Rest and Recovery
Transfer the chicken to a warm plate and tent loosely with foil. Do not wrap it tightly, or the steam will soften your crispy crust.
Pro Tip: Resting allows the viscosity of the internal juices to increase as they cool slightly. This ensures the moisture stays trapped within the muscle fibers when you finally slice in.
The Deep Dive
When we look at the macro nutrition of ranch baked chicken recipes, a standard 6-ounce serving provides roughly 35 grams of protein and 12 grams of fat. To keep it Keto-friendly, omit the breadcrumbs and use a parmesan-herb crust. For a Vegan twist, this same ranch coating works beautifully on thick slabs of cauliflower or "steaks" made from firm tofu.
The Fix-It: Common Pitfalls
- Soggy Crust: This usually happens because the oven was not hot enough or the chicken was crowded. Use two pans if necessary to ensure airflow.
- Bland Flavor: You likely forgot to salt the chicken directly before adding the ranch coating. Salt is a flavor magnifier; the ranch cannot do all the work alone.
- Rubbery Texture: This is a sign of overcooking. Use your thermometer religiously.
Meal Prep Science: To reheat and maintain "day-one" quality, avoid the microwave. The microwave agitates water molecules, which turns your crispy coating into mush. Instead, use an air fryer at 350 degrees for 4 minutes. This re-hydrates the interior while flash-frying the exterior for a perfect second-day experience.
The Wrap-Up
Mastering ranch baked chicken recipes is your ticket to becoming the hero of the dinner table. By understanding the science of acidity, heat transfer, and resting, you elevate a simple comfort food into a gourmet experience. Remember to keep your fats stable, your oven hot, and your thermometer handy. Now, go forth and turn that spice rack into a laboratory of deliciousness. Your perfectly golden, succulent chicken is waiting.
The Kitchen Table
How do I keep the chicken from getting dry?
Use a digital thermometer to pull the chicken at 160 degrees Fahrenheit. The thermal carryover will bring it to the safe 165 degrees while resting, ensuring the muscle fibers retain their natural moisture and remain tender.
Can I use Greek yogurt instead of mayo?
Yes, Greek yogurt provides a fantastic acidic tang that tenderizes the meat. However, adding a small amount of mayo or olive oil is recommended to provide the fat necessary for a rich, emulsified coating and better browning.
Why is my breading falling off?
Breading falls off if the chicken surface is too wet before the initial coating. Pat the meat dry with paper towels before applying the ranch base. This ensures a stronger protein bond between the meat and the crust.
What is the best way to reheat leftovers?
Avoid the microwave to prevent sogginess. Reheat in an air fryer or oven at 350 degrees Fahrenheit. This method uses convection heat to recrisp the exterior coating while gently warming the interior without toughening the protein.
Can I make this recipe with chicken thighs?
Absolutely. Chicken thighs have more connective tissue and fat, making them more forgiving. Increase the bake time by 5 to 10 minutes to allow the extra fat to render, resulting in an even more flavorful result.