

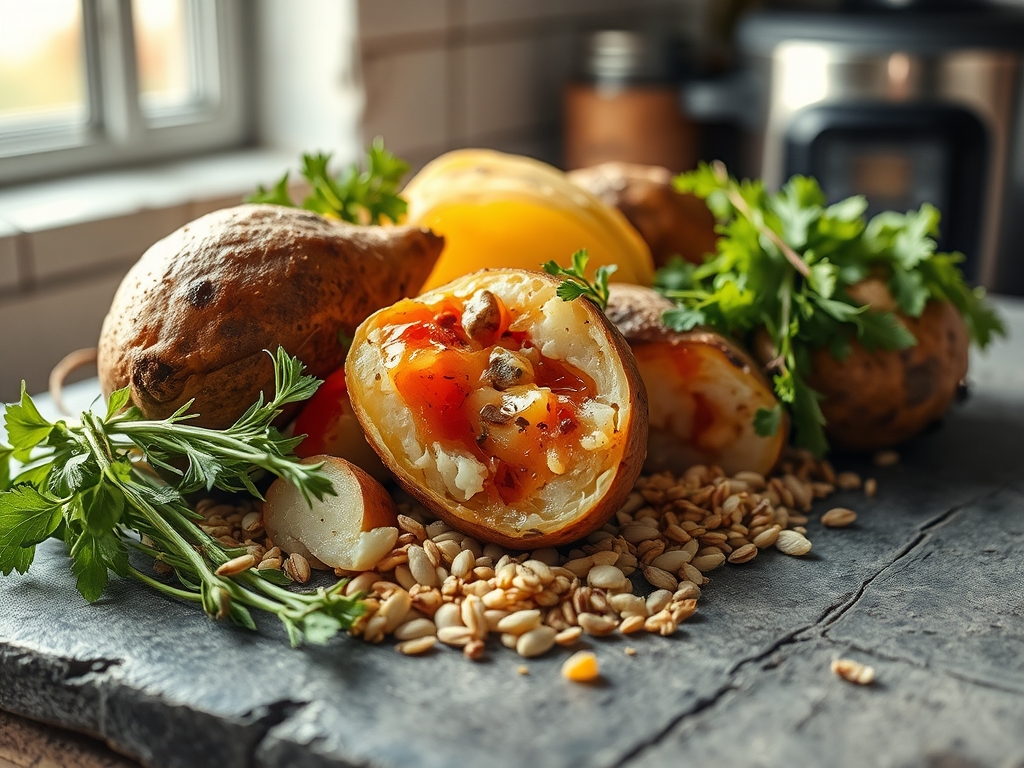
Imagine the scent of earth and salt swirling through your kitchen as steam escapes with a triumphant hiss. We are chasing the holy grail of comfort food: a skin so crisp it crackles and an interior as light as a summer cloud. Mastering instant pot baked potato recipes is not just about convenience; it is about utilizing high pressure to transform dense starch into a velvety masterpiece. We are bypassing the hour long oven wait and using steam physics to achieve perfection in a fraction of the time.
The magic happens when the pressure cooker forces moisture into the cellular structure of the tuber, gelatinizing the starch quickly while preserving the integrity of the skin. This is the ultimate weeknight survival skill for the modern epicurean. Whether you are craving a loaded classic or a refined side dish, these techniques ensure your spuds are never gummy or undercooked. Grab your favorite apron and let us dive into the molecular transformation of the humble potato.
The Gathers:
To begin, you must select the right specimen. We are looking for Russet potatoes, specifically those with a high starch content and low moisture. In the culinary world, these are known as mealy potatoes. Their large starch granules swell and separate during the cooking process, creating that coveted fluffy texture. You will also need filtered water to create the steam environment, high quality kosher salt for osmotic seasoning, and a fat source like avocado oil or clarified butter.
Smart Substitutions are essential for the versatile chef. If you lack Russets, Yukon Golds offer a more buttery, waxy finish that holds its shape beautifully for potato salads. For a piquant kick, swap standard table salt for smoked Maldon sea salt or truffle salt. If you are avoiding dairy, a high quality extra virgin olive oil provides a viscous, fruity fat profile that mimics the richness of butter without the lactose. Ensure your digital scale is handy to select potatoes of uniform weight, which guarantees they all reach the finish line at the same moment.
The Clock
Efficiency is the hallmark of a professional kitchen. The "Chef's Flow" for this recipe requires about 5 minutes of active preparation and 25 to 30 minutes of pressurized cooking time. You must also factor in a 10 minute natural pressure release. This period is non-negotiable; it allows the internal temperature to stabilize and prevents the starch from becoming "shocked" and gluey. Total time from pantry to plate is roughly 45 minutes, which is still a significant victory over the traditional 75 minute oven roast.
The Masterclass
1. The Scrub and Prep
Use a stiff vegetable brush to remove any lingering debris from the skin. Pat each potato bone dry with a lint free towel. Moisture on the surface during the initial phase can lead to a soggy exterior. Use a fork to pierce the skin about six times.
Pro Tip: Piercing the skin allows internal steam to escape. Without these vents, the internal pressure can cause the potato to rupture or become overly dense due to trapped moisture. This is a basic application of thermal expansion.
2. The Brine Bath
Place the stainless steel trivet into the pot and add one cup of water. Rub each potato generously with oil and salt. The oil acts as a heat conductor, while the salt draws out just enough surface moisture to toughen the skin slightly against the steam.
Pro Tip: This is a form of osmotic seasoning. By coating the exterior in salt before cooking, you are encouraging the salt to penetrate the skin, enhancing the flavor of the entire tuber rather than just the surface.
3. The Pressure Phase
Secure the lid and set the valve to the sealing position. Select the Manual or Pressure Cook setting on High. For medium potatoes (roughly 6 to 8 ounces), set the timer for 14 minutes. For larger, "steakhouse" style spuds (10 to 12 ounces), aim for 18 minutes.
Pro Tip: High pressure raises the boiling point of water, allowing the potatoes to cook at temperatures exceeding 212 degrees Fahrenheit. This accelerates the gelatinization of starch, breaking down the tough crystalline structures into soft, edible molecules.
4. The Natural Release
Once the timer beeps, do not touch the valve. Allow the pot to sit undisturbed for 10 minutes. This allows the residual heat to finish the core of the potato without the violent agitation of a quick release.
Pro Tip: A quick release can cause the liquid inside the potato cells to boil instantly, potentially rupturing the cell walls and creating a gummy, "wet" texture. Carryover cooking during the natural release ensures a uniform crumb.
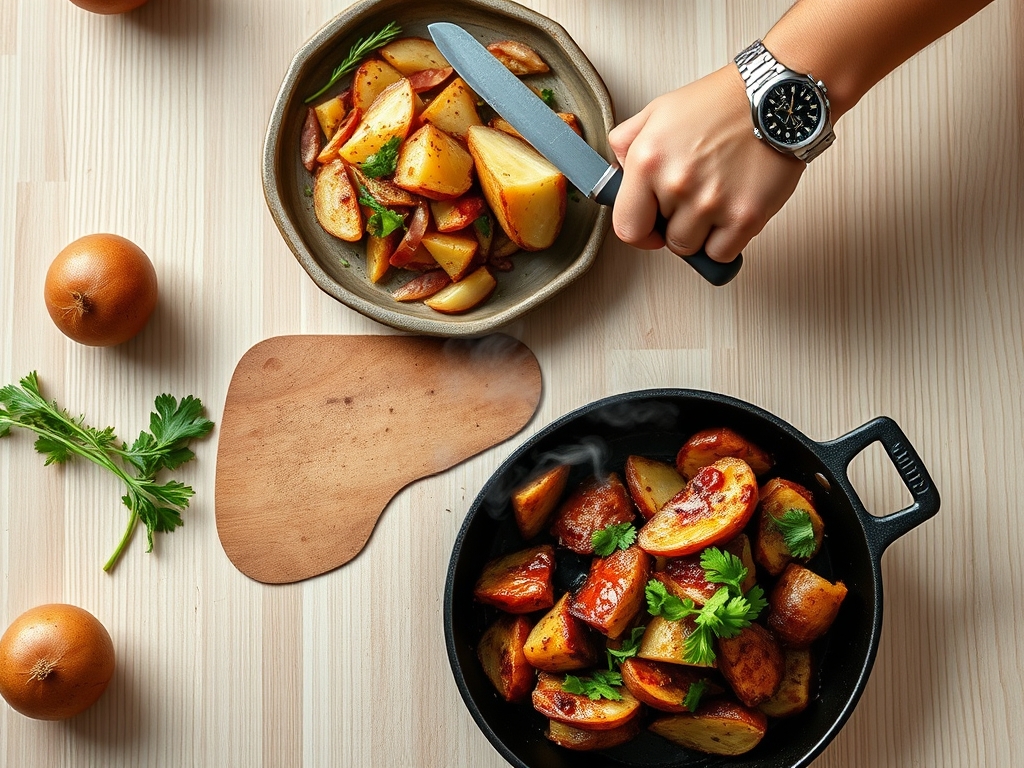
5. The Crisp Finish
For those who demand a crunchy skin, transfer the cooked potatoes to a heavy-bottomed skillet or a baking sheet. Use tongs to move them carefully. Place them under a broiler for 3 to 5 minutes until the skin bubbles and browns.
Pro Tip: This final step triggers the Maillard reaction. The heat causes amino acids and reducing sugars to react, creating hundreds of different flavor compounds and that signature toasted aroma.
The Deep Dive
From a macro nutrition perspective, a medium potato is a powerhouse of complex carbohydrates and potassium. To keep it Keto friendly, one might swap the potato for a large head of cauliflower, though the cooking times will drop drastically. For a vegan feast, use a saucier to render a cashew based "cheese" sauce infused with nutritional yeast and smoked paprika.
The Fix-It: If your potatoes are hard in the center, they likely needed five more minutes; simply return them to the pot for a quick pressurized burst. If they are watery, you likely skipped the "piercing" step or used too much water. If the skin is bland, ensure you are using coarse salt, which adheres better to the oil. For meal prep, reheat your potatoes in an air fryer at 350 degrees to aerate the skin and restore the "day-one" crunch.
The Wrap-Up
You are now armed with the technical prowess to turn a simple root vegetable into a gourmet experience. By understanding the interplay of pressure, starch gelatinization, and the Maillard reaction, you have moved beyond a simple recipe into the realm of culinary science. Go forth, experiment with your toppings, and remember that the best meals are those shared with a bit of wit and a lot of butter.
The Kitchen Table
Can I stack potatoes in the Instant Pot?
Yes, you can stack them in a staggered pattern. The steam will still circulate effectively around the curved surfaces. Ensure they are of similar size to maintain a consistent thermal profile across all units.
Why is my potato skin so soft?
Steam is the enemy of crispness. To fix this, always finish your potatoes in a hot oven or heavy-bottomed skillet for a few minutes. This evaporates surface moisture and initiates the browning process for a better mouthfeel.
Do I need to wrap them in foil?
Never wrap potatoes in foil when using an Instant Pot. Foil traps excess moisture against the skin, resulting in a boiled, soggy texture. The goal is to use the pressure to cook the interior while keeping the exterior intact.
How do I store leftovers?
Store them in an airtight container for up to four days. To reheat, avoid the microwave; instead, use an oven or air fryer. This prevents the starch from becoming "retrograded" and keeps the texture light and fluffy.