
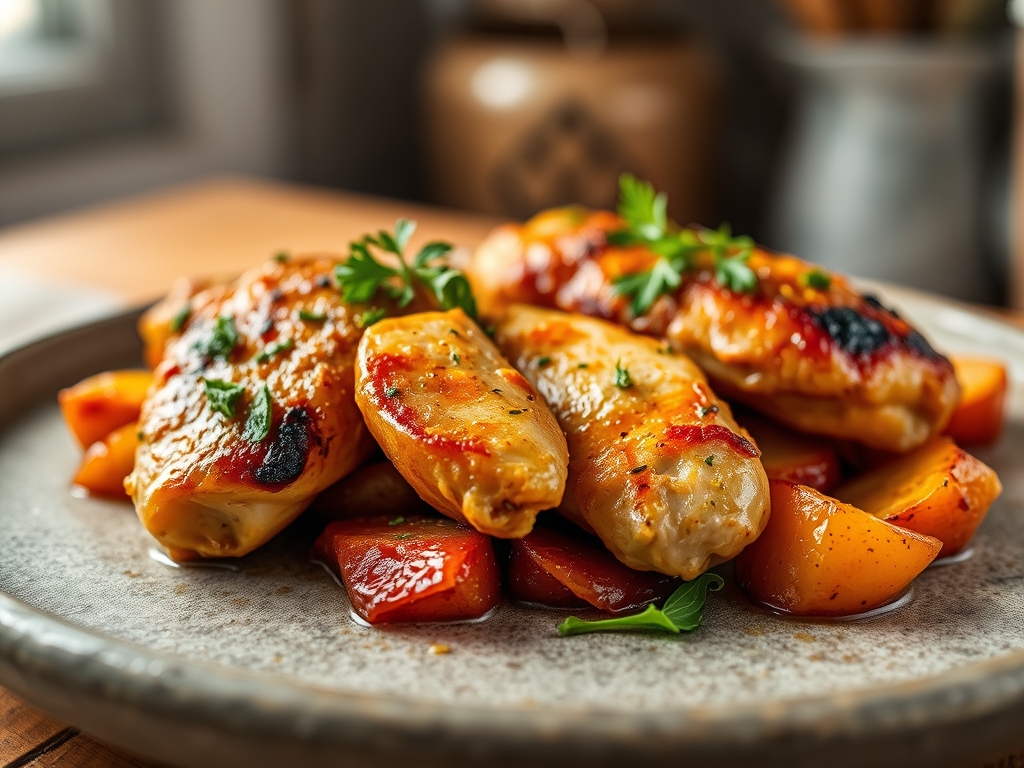
Picture the sound of a heavy-bottomed skillet meeting the flame. There is a specific, high-frequency sizzle that happens when cold poultry hits shimmering fat; it is the sound of chemistry turning raw protein into gold. Mastering chicken and red potato recipes is the ultimate culinary flex because it balances the ruggedness of a root vegetable with the delicate, fat-rendered skin of a perfectly roasted bird.
We are not just throwing things in a pan and hoping for the best. We are orchestrating a symphony of heat transfer and moisture control. Red potatoes are the secret weapon here because their low-starch, high-moisture cellular structure allows them to hold their shape even under intense thermal pressure. While a Russet might crumble into a grainy mess, the red potato stays waxy and luscious, absorbing every drop of savory chicken jus. Whether you are prepping for a Tuesday night or a Sunday feast, these eight variations on the roast will redefine your kitchen repertoire.
The Gathers:
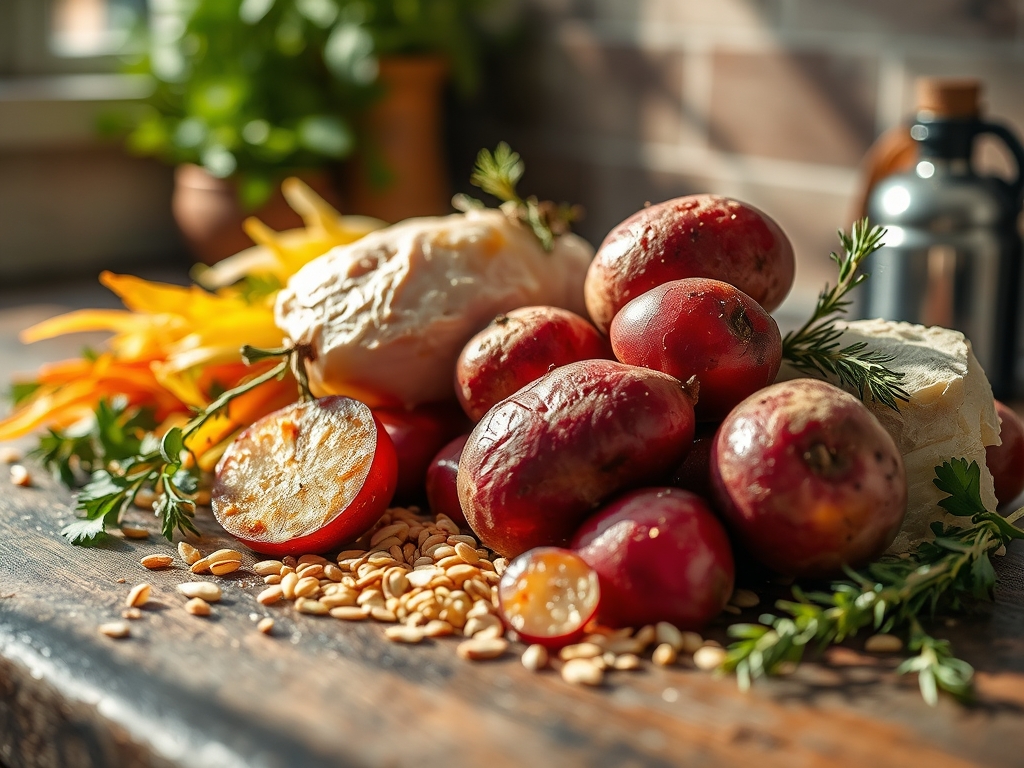
Before we ignite the burners, we must respect the mise-en-place. Use a digital scale to ensure your ratios are precise; consistency is the hallmark of a pro. You will need bone-in, skin-on thighs for maximum flavor extraction, as the collagen in the joints converts to gelatin during the roast. For the potatoes, look for small, firm specimens with vibrant, taut skin.
Your aromatics should include fresh rosemary and thyme, which contain volatile oils that infuse better when bruised. You will also need a high-smoke-point fat like avocado oil or clarified butter to facilitate the Maillard reaction without acrid scorching. A microplane is essential for zesting citrus or grating garlic into a fine, viscous paste that clings to the ingredients.
Smart Substitutions:
If you are out of red potatoes, Yukon Golds are the next best thing due to their medium starch content. For a piquant twist, swap the rosemary for dried oregano and add a splash of red wine vinegar to deglaze the pan. If you prefer white meat, use bone-in breasts but reduce the cook time by fifteen percent to prevent the muscle fibers from becoming stringy and dry.
The Clock: Timing the Perfect Roast
The "Chef's Flow" is all about overlapping tasks to minimize downtime. Your active prep time should clock in at 20 minutes, with a total roasting time of 45 to 55 minutes depending on the calibration of your oven.
Start by preheating your oven to 425 degrees Fahrenheit. While the air inside the cavity reaches equilibrium, use a bench scraper to clear your workspace as you chop. The goal is to have the chicken and potatoes hitting the heat at the same moment the oven chime rings. Remember that "resting time" is not a suggestion; it is a mandatory ten-minute phase where the internal pressure of the meat stabilizes, ensuring the juices stay in the fibers rather than flooding your cutting board.
The Masterclass:
1. The Surface Prep
Pat the chicken skin bone-dry with paper towels. Any residual moisture will create a steam barrier, preventing the skin from reaching the 300 degree threshold required for browning. Use your tongs to flip the pieces as you season them aggressively with kosher salt.
Pro Tip: This is called hygroscopic desiccation. Salt draws moisture out of the skin, which then evaporates, allowing the fats to render more efficiently for a glass-like crunch.
2. The Potato Par-Boil (Optional but Recommended)
If you want a creamy interior, toss your halved red potatoes in boiling water for five minutes before roasting. This gelatinizes the exterior starch.
Pro Tip: This process triggers retrogradation, where the starch molecules realign to create a crispier crust once they hit the hot oil in the roasting pan.
3. The Infusion Toss
In a large bowl, combine your potatoes, garlic paste, and herbs. Use a whisk to emulsify your oil and acid (like lemon juice) before pouring it over the vegetables. Ensure every crevice is coated to prevent oxidation.
Pro Tip: Emulsification ensures an even distribution of fat-soluble flavor compounds from the herbs, which would otherwise just slide off the waxy potato skin.
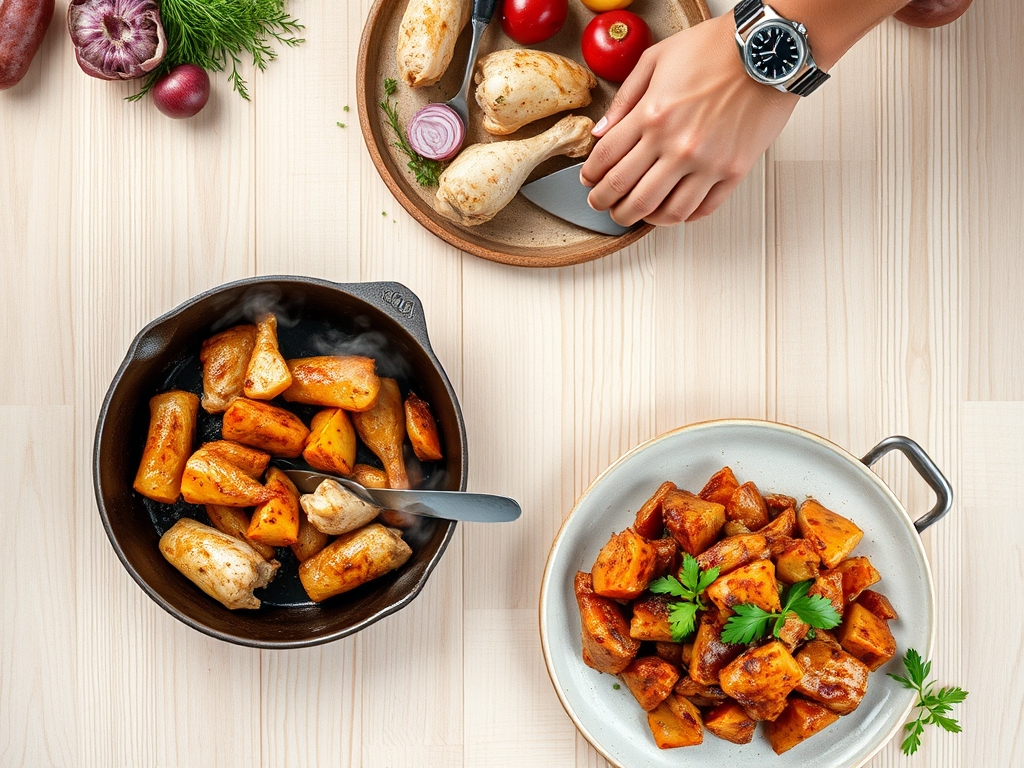
4. The Searing Phase
Place your chicken skin-side down in a cold heavy-bottomed skillet and then turn the heat to medium-high. This allows the fat to render out slowly as the pan heats up.
Pro Tip: This prevents thermal shock, which can cause the protein fibers to contract violently, squeezing out the moisture and leaving the meat tough.
5. The Arrangement
Move the seared chicken to a sheet pan, nesting the red potatoes around the meat. The potatoes should be in a single layer to ensure proper airflow and convection.
Pro Tip: Crowding the pan causes evaporative cooling. If the pieces are too close, the steam trapped between them will drop the temperature, leading to soggy potatoes.
6. The Roast
Slide the pan into the center rack. Rotate the pan 180 degrees halfway through the timer to account for any hot spots in your oven.
Pro Tip: Use a digital probe thermometer to track thermal carryover. Pull the chicken when it hits 160 degrees; it will rise to the safe 165 degree mark while resting.
7. The Deglaze and Finish
Once the pan is out, move the chicken and potatoes to a platter. Place the roasting pan over a burner and add a splash of chicken stock, scraping up the brown bits (the fond) with a wooden spoon.
Pro Tip: The fond is a concentrated treasure trove of caramelized proteins and sugars. Deglazing creates a pan sauce that ties the entire dish together.
The Deep Dive:
From a macro perspective, chicken and red potato recipes are a powerhouse of balanced nutrition. A standard serving provides roughly 35 grams of protein and 30 grams of complex carbohydrates. Red potatoes are particularly high in potassium and Vitamin C, especially if you leave the skins on.
Dietary Swaps:
For a Keto version, replace the red potatoes with cauliflower florets or radishes, which mimic the texture of potatoes when roasted. Vegan diners can swap the chicken for thick slabs of cauliflower "steak" or extra-firm tofu, using liquid smoke to replicate the savory depth. This recipe is naturally Gluten-Free, provided you check your chicken stock for hidden thickeners.
The Fix-It:
- Soggy Skin: Your oven temperature was likely too low. Fix it by toggling the broiler for the last two minutes of cooking, but watch it like a hawk.
- Burnt Garlic: If your garlic turned bitter, you likely added it too early. Next time, use whole smashed cloves instead of minced, or add the garlic paste halfway through the roast.
- Dry Meat: This is a result of overcooking. Always use a thermometer. If it is already dry, shred the meat and toss it in the pan sauce to rehydrate the fibers.
Meal Prep:
To maintain "day-one" quality, reheat your leftovers in an air fryer at 350 degrees for five minutes. This reactivates the fats in the skin and re-crisps the potatoes without making them rubbery, a common side effect of the microwave's molecular agitation.
The Wrap-Up:
There is something deeply satisfying about mastering a classic. When you pull that tray of chicken and red potatoes out of the oven, you are not just looking at dinner; you are looking at a perfectly executed scientific experiment. The contrast of the brittle, salty skin against the creamy, herb-infused potato is the gold standard of home cooking. Go ahead, grab your favorite skillet and get to work. Your kitchen is about to smell like a five-star bistro.
The Kitchen Table:
Why are my red potatoes still hard after roasting?
This usually happens due to acidic interference. If you add too much lemon juice or vinegar too early, it strengthens the potato's pectin, preventing it from softening. Always balance your acids or par-boil the potatoes first.
Can I use chicken breasts instead of thighs?
Yes, but you must adjust for fat content. Breasts lack the protective fat of thighs and dry out quickly. Reduce the oven time and consider a quick brine in salt water to increase moisture retention.
What is the best oil for roasting chicken and potatoes?
Use an oil with a high smoke point like avocado or grapeseed oil. Avoid extra virgin olive oil for high-heat roasting, as its low smoke point can create bitter flavors and harmful free radicals.
How do I get the chicken skin extra crispy?
The secret is surface area and dryness. Pat the skin dry, then leave the chicken uncovered in the fridge for an hour before cooking. This "air-drying" method ensures the skin dehydrates for maximum crunch.