
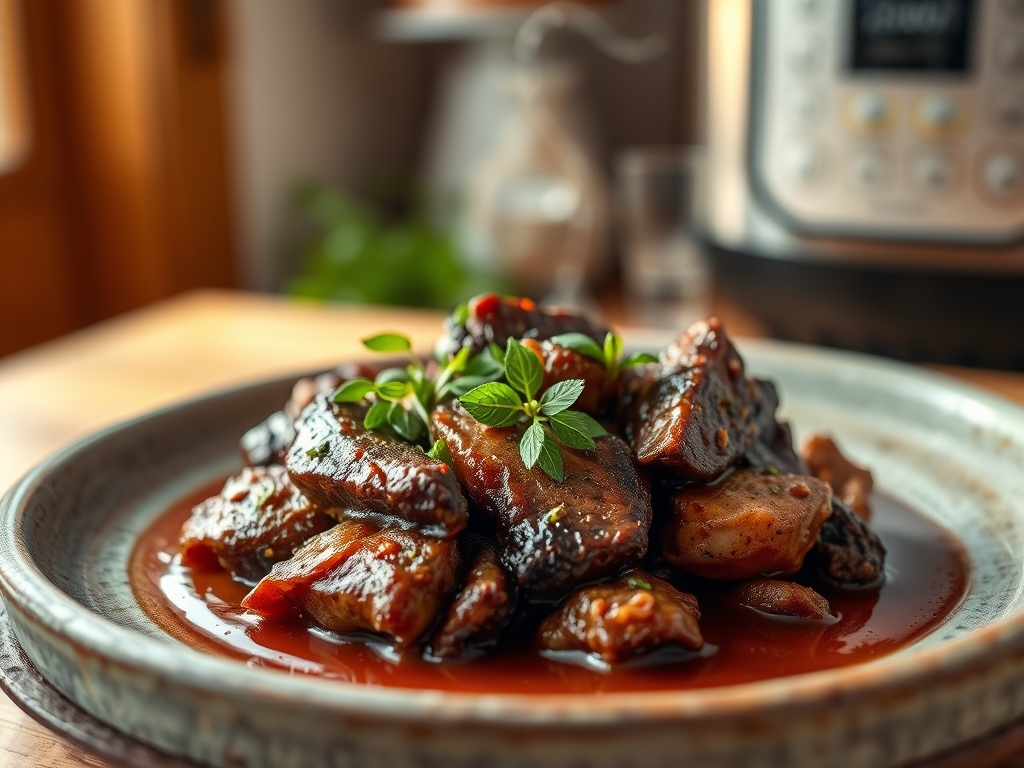
Imagine the scent of slow-simmered rosemary and caramelized onions swirling through your kitchen on a Tuesday evening. Usually, that deep, savory perfume requires six hours of hovering over a Dutch oven; however, the magic of pressure cooking has changed the game for roast beef recipes instant pot style. We are talking about fibers that melt at the touch of a fork and a gravy so glossy it looks like liquid velvet. This is not just a meal; it is a high-speed collision between traditional comfort and modern physics. By manipulating atmospheric pressure, we are forcing moisture into the protein strands rather than letting it evaporate into the ether. You get that Sunday-supper soul in under ninety minutes. Grab your favorite apron and a glass of red wine. We are about to turn a humble chuck roast into a masterpiece of culinary engineering that will make your slow cooker look like a relic of the past.
The Gathers:
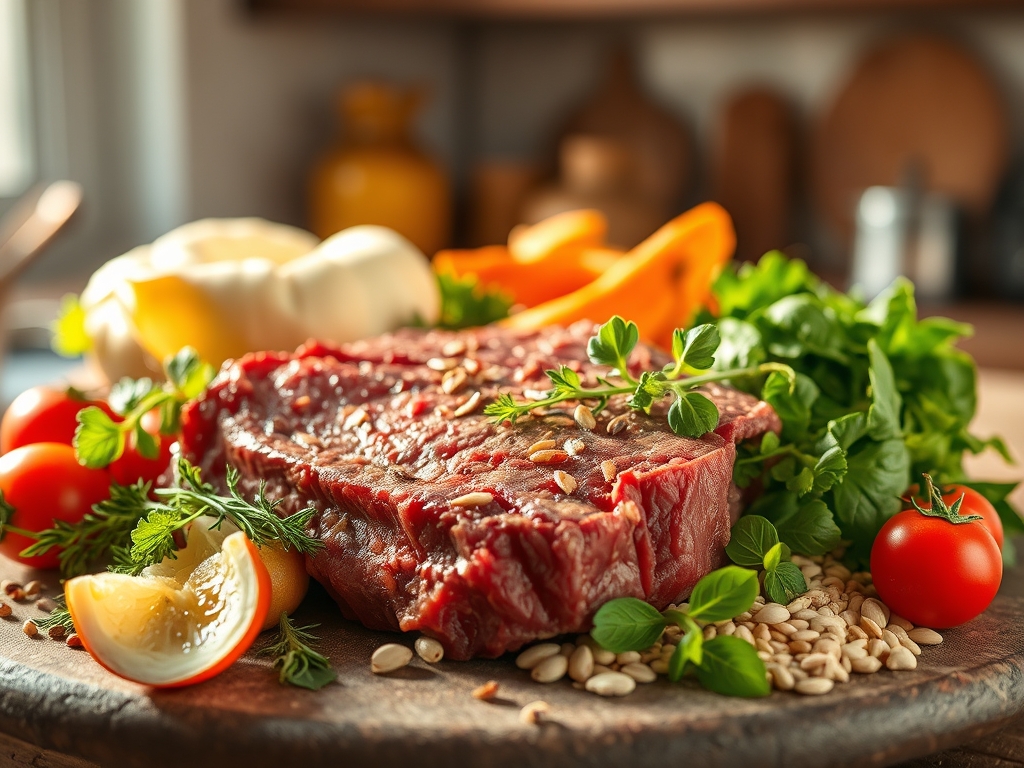
To achieve a five-star result, your mise-en-place must be precise. Start with a three-pound chuck roast, specifically chosen for its high intramuscular fat and connective tissue. You will need coarse kosher salt for its jagged crystal structure, which adheres better to the meat, and cracked black peppercorns for a piquant bite. For the aromatic base, gather four cloves of garlic, two yellow onions, and a handful of sprigs of fresh thyme and rosemary. The liquid component is critical; use a high-quality beef bone broth rich in gelatin to ensure a viscous mouthfeel in the final sauce.
Smart Substitutions: If you cannot find a chuck roast, a bottom round or rump roast works, though they are leaner and require a slightly shorter cook time to avoid graininess. For a deeper umami profile, swap a tablespoon of the broth for Worcestershire sauce or a splash of soy sauce. If you are out of fresh herbs, a teaspoon of dried herbes de Provence will suffice, provided you bloom them in the hot fat first to release their essential oils. Use a digital scale to weigh your aromatics if you want total consistency; precision is the hallmark of a great chef.
The Clock
Efficiency in the kitchen is all about the Chef's Flow. Expect about 15 minutes of active prep time, which includes trimming the silver skin and searing the meat. The pressurized cook time sits at 60 to 70 minutes, depending on the thickness of your cut. Factor in a 15-minute natural pressure release; this is non-negotiable for moisture retention. Total "door-to-table" time is approximately 1 hour and 45 minutes. While the pot does the heavy lifting, use that 60-minute window to prepare your side dishes or clean your bench scraper and cutting boards.
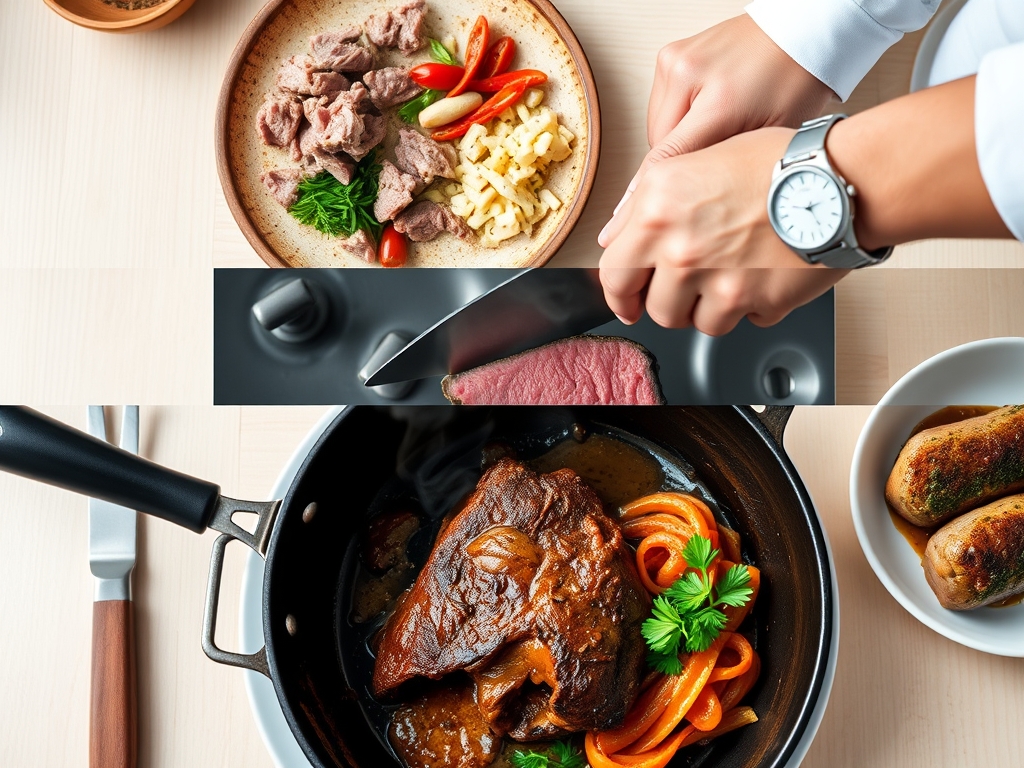
The Masterclass
1. The Aggressive Sear
Pat the meat bone-dry with paper towels. Set your pot to the highest "Sauté" setting and add a high-smoke-point oil. Using heavy-duty tongs, sear every side of the beef until a deep, mahogany crust forms. This is not just for color; it is the Maillard reaction in action.
Pro Tip: Moisture is the enemy of the sear. If the meat is damp, it will steam rather than brown. Achieving this crust creates complex flavor molecules that cannot be replicated by boiling alone.
2. Deglazing the Fond
Remove the meat and toss in your sliced onions. Once they soften, pour in a half-cup of red wine or broth. Use a wooden spoon or saucier whisk to scrape up the brown bits stuck to the bottom.
Pro Tip: Those stuck bits are called "fond." They contain concentrated savory compounds. Failing to deglaze properly not only loses flavor but can also trigger the "burn" notice on your device.
3. The Low and Slow Pressure Phase
Place the roast back into the pot on top of the onions. Pour the broth around the sides, not over the top, to keep that crust intact. Add your herbs and garlic. Seal the lid and set to high pressure for 60 minutes.
Pro Tip: Pressure cooking raises the boiling point of water. This high-thermal environment accelerates the breakdown of collagen into gelatin, turning tough fibers into succulent shreds.
4. The Natural Release Ritual
When the timer beeps, walk away. Allow the pressure to drop naturally for at least 15 minutes before toggling the valve.
Pro Tip: A quick release causes the liquid inside the meat to boil violently and escape, leaving the beef dry and stringy. A natural release allows the protein to reabsorb its juices.
5. The Gravy Emulsification
Remove the meat to a warm platter. Switch back to "Sauté" and whisk in a slurry of cornstarch and water. Let it bubble until it coats the back of a spoon.
Pro Tip: To achieve a professional sheen, whisk in a tablespoon of cold, unsalted butter at the very end. This emulsification adds a silky texture and a rich finish.
6. The Final Rest
Tent the meat loosely with foil and let it sit for 10 minutes before slicing against the grain.
Pro Tip: Resting allows the internal temperature to stabilize. This prevents the juices from flooding the cutting board, ensuring every bite is as moist as possible.
The Deep Dive
Macro Nutrition: A standard 4-ounce serving of this roast beef provides approximately 280 calories, 25 grams of protein, and 18 grams of fat. It is a powerhouse of iron and Vitamin B12. To keep it lean, trim the external fat cap before searing.
Dietary Swaps: For a Keto version, omit the cornstarch slurry and thicken the sauce by blending in some of the cooked onions with an immersion blender. Vegan friends can follow the same aromatic process using a large head of cauliflower or "lion's mane" mushrooms, reducing the pressure time to just 5 minutes. For Gluten-Free needs, ensure your beef broth is certified and use arrowroot powder as a thickener.
The Fix-It:
- Tough Meat: If it is still chewy, it simply hasn't cooked long enough to break down the connective tissue. Put the lid back on and add 10 more minutes of pressure.
- Thin Gravy: If your sauce is watery, continue to simmer on "Sauté" to reduce the liquid, or add a second round of slurry.
- Bland Flavor: This usually means a lack of acidity. Stir in a teaspoon of apple cider vinegar or lemon juice at the end to brighten the entire profile.
Meal Prep: To reheat without losing quality, slice the beef while cold and submerge it in the leftover gravy. Heat it gently in a covered skillet over low heat. This prevents the "warmed-over flavor" caused by lipid oxidation.
The Wrap-Up
Mastering roast beef recipes instant pot style is like having a culinary superpower in your back pocket. You have successfully navigated the science of the Maillard reaction, the physics of pressure, and the art of the perfect emulsion. Whether you are serving this over a mountain of garlic mashed potatoes or tucking it into crusty rolls for French Dip sandwiches, you are now the commander of the kitchen. Remember; the secret is in the sear and the patience of the natural release. Now, go forth and feast like royalty on a weeknight schedule.
The Kitchen Table
Can I cook a frozen roast in the Instant Pot?
Yes, you can cook from frozen by skipping the initial sear and increasing the pressure cook time by 50 percent. However, the flavor profile will be less complex without the initial browning of the meat fibers.
Why is my roast beef still tough after 60 minutes?
Toughness usually indicates the collagen hasn't fully converted to gelatin. This often happens with very thick cuts. Simply lock the lid and cook for an additional 10 to 15 minutes under high pressure to finish the breakdown.
What is the best cut for Instant Pot roast beef?
The boneless chuck roast is the undisputed champion. Its high fat content and connective tissue ensure the meat remains moist and tender under high-pressure conditions, unlike leaner cuts like eye of round which can become dry.
How much liquid do I actually need?
You only need about one cup of thin liquid to bring the pot to pressure. Using too much liquid will result in a boiled flavor rather than a concentrated, roasted essence. Always deglaze the bottom thoroughly to prevent scorching.