
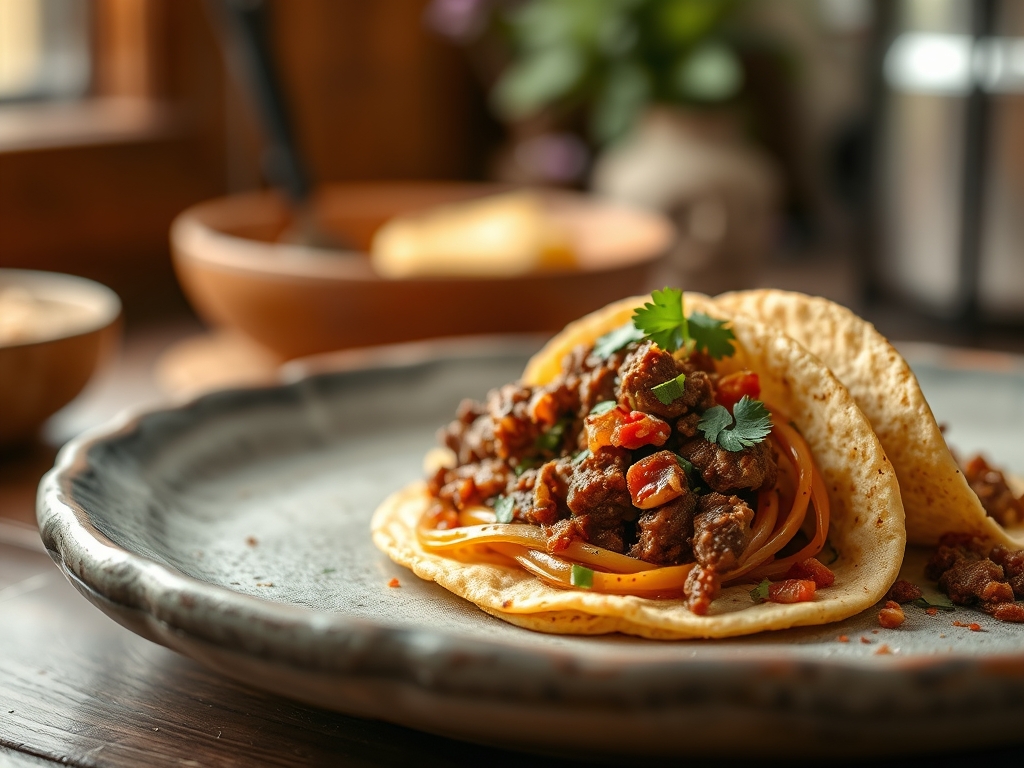
Picture this: a heavy ceramic lid lifting to release a cloud of cumin-scented steam that fills every corner of your home. The air becomes thick with the aroma of toasted chiles and savory fat. When you are hunting for the best slow cooker taco ground beef recipes, you are not just looking for dinner; you are looking for a flavor transformation.
That rich, concentrated beefiness does not happen by accident. It is the result of low-temperature alchemy where collagen breaks down and spices bloom into something transcendent. We are moving past the days of watery, grey meat. Instead, we are focusing on creating a deeply lacquered, intensely seasoned protein base that works for everything from street tacos to loaded nachos. Grab your favorite apron and let us get into the molecular magic of the slow cooker.
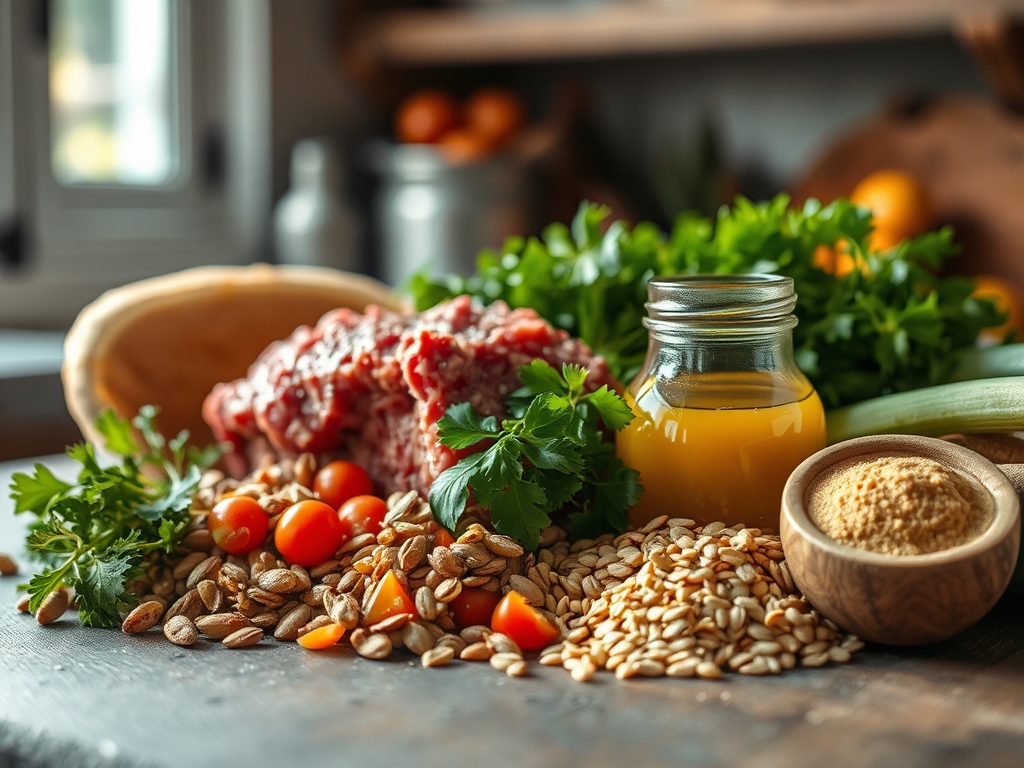
The Gathers:
To achieve the perfect texture, your mise-en-place must be intentional. We start with high-quality ground beef; ideally an 80/20 blend. This specific ratio ensures there is enough fat to render and carry the fat-soluble flavor compounds found in your spices. You will also need a high-quality chili powder, smoked paprika, and toasted cumin seeds that you have pulverized with a mortar and pestle for maximum volatile oil release.
The aromatics are equally vital. Use a microplane to grate your garlic into a fine paste; this increases the surface area and allows the garlic to melt into the sauce rather than leaving chunky bits. For the liquid base, we avoid plain water. Instead, we use a rich beef bone broth or a splash of light lager to provide enzymatic depth.
Smart Substitutions:
If you are looking to lighten the profile, you can swap half the beef for finely minced cremini mushrooms. These fungi provide incredible umami through glutamates while mimicking the mouthfeel of ground meat. For a spicy kick, replace standard bell peppers with fire-roasted poblanos or a spoonful of adobo sauce from a can of chipotles.
The Clock
Efficiency in the kitchen is about the Chef's Flow. This is the art of overlapping tasks so that your hands are never idle while the heat does the work.
- Prep Time: 15 minutes. This includes dicing your onions with a sharp chef's knife and measuring your spices on a digital scale for consistency.
- Active Cook Time: 10 minutes. You must brown the meat in a heavy-bottomed skillet before it ever touches the slow cooker.
- Slow Cooker Duration: 3 to 4 hours on Low, or 1.5 to 2 hours on High.
The flow begins with the skillet. While the beef is searing, you can use a bench scraper to clear your cutting board of chopped aromatics. By the time the meat is browned, your slow cooker should be pre-heated and ready for the transfer.
The Masterclass
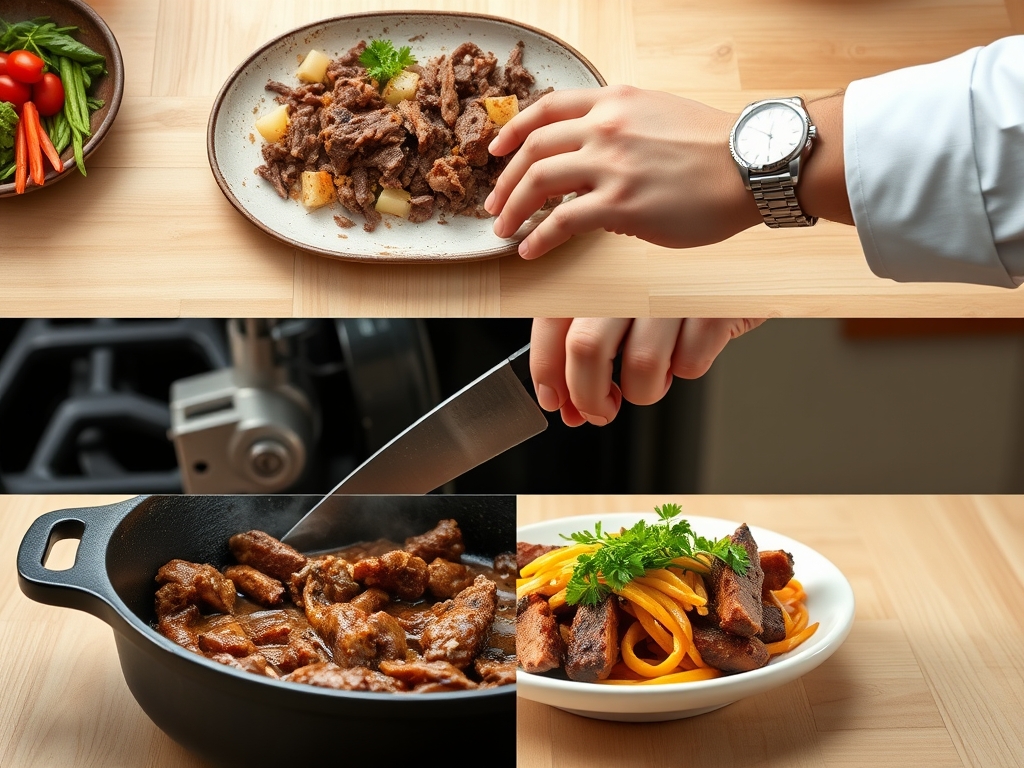
1. The Maillard Sear
Before the beef enters the slow cooker, you must sear it in a screaming hot heavy-bottomed skillet. Do not crowd the pan; work in batches if necessary to ensure the meat browns rather than steams.
Pro Tip: This step utilizes the Maillard Reaction. This chemical reaction between amino acids and reducing sugars creates hundreds of different flavor compounds that a slow cooker cannot produce on its own due to the presence of moisture.
2. Deglazing the Fond
Once the meat is removed, you will see brown bits stuck to the bottom of the pan. Pour in a splash of broth and use a wooden spoon to scrape them up. This is liquid gold.
Pro Tip: This process is called deglazing. The "fond" (those brown bits) contains concentrated savory notes that, when dissolved, provide a more viscous and complex sauce for your beef.
3. The Spice Bloom
Add your dry spices to the residual fat in the pan for 30 seconds before adding them to the slow cooker. You want them to become fragrant but not burnt.
Pro Tip: Many spice flavors are fat-soluble. Blooming them in hot fat "unlocks" the aromatic oils, ensuring the flavor permeates the entire batch of meat rather than just sitting on the surface.
4. Low and Slow Infusion
Transfer everything to the slow cooker. Set it to low. The goal is to keep the temperature below a boil to prevent the proteins from tightening and becoming rubbery.
Pro Tip: Maintaining a steady, low temperature allows for collagen conversion. Even in ground beef, there are connective tissues that transform into gelatin at low heat, resulting in a silky, moist mouthfeel.
5. The Aeration Flip
Halfway through the cooking process, use a large spoon or tongs to gently turn the meat. This ensures the pieces on the bottom do not overcook while the top stays moist.
Pro Tip: This helps to aerate the mixture and redistribute the rendered fats. It prevents the spices from settling at the bottom, ensuring a uniform flavor profile in every bite.
6. The Final Emulsification
Once the timer goes off, if there is excess liquid, do not just drain it. Whisk in a teaspoon of cornstarch or a knob of cold butter to thicken the juices into a glossy glaze.
Pro Tip: This creates a stable emulsification. By binding the fats and liquids together, the seasoning clings to the beef rather than puddling at the bottom of your taco shell.
The Deep Dive
From a nutritional standpoint, a standard serving of this taco beef provides roughly 22g of protein and 14g of fat. To make this Keto-friendly, simply serve it over a bed of shredded romaine with extra avocado. For a Vegan twist, follow the same spice and searing techniques using a plant-based crumble or lentils. If you are Gluten-Free, ensure your beef broth and spices are certified, as some pre-mixed taco seasonings use wheat flour as an anti-caking agent.
The Fix-It:
- Too Greasy: If the fat is overwhelming, lay a clean paper towel across the top of the meat for 30 seconds to wick away excess oil without losing flavor.
- Too Dry: Stir in two tablespoons of tomato sauce or a splash of lime juice to add acidity and moisture.
- Too Salty: Add a peeled, halved potato to the pot for the last 30 minutes; it will act as a sponge for excess sodium.
Meal Prep Science:
When reheating, do not use the microwave on high. The rapid vibration of water molecules can toughen the beef. Instead, use a saucier on the stovetop with a tablespoon of water. This creates a gentle steam that restores the "day-one" suppleness of the meat.
The Wrap-Up
Mastering slow cooker taco ground beef recipes is about more than just pressing a button; it is about respecting the chemistry of the kitchen. By browning your meat, blooming your spices, and managing your emulsions, you elevate a simple weeknight staple into a gourmet experience. Whether you are hosting a massive party or just prepping for a busy week, these hacks ensure every taco is a masterpiece of texture and taste. Now, get that slow cooker humming!
The Kitchen Table
Can I put raw ground beef directly in the slow cooker?
Yes, but you will miss the flavor of the Maillard reaction. For the best results, always sear the meat in a skillet first to develop deep, savory notes and a better texture before slow cooking.
How do I prevent the beef from becoming a giant clump?
Use a potato masher or a sturdy whisk to break the meat into fine crumbles during the initial searing phase. This increases surface area for seasoning and ensures a uniform, tender consistency throughout the cooking process.
Why is my taco beef watery after four hours?
Slow cookers trap steam, which turns into liquid. To fix this, remove the lid during the last 30 minutes of cooking or stir in a small amount of cornstarch to thicken the juices into a rich, clinging sauce.
How long does slow-cooked taco beef last in the fridge?
Stored in an airtight container, the beef stays fresh for up to four days. The flavors actually improve over the first 24 hours as the spices continue to infuse into the rendered fats and proteins.