
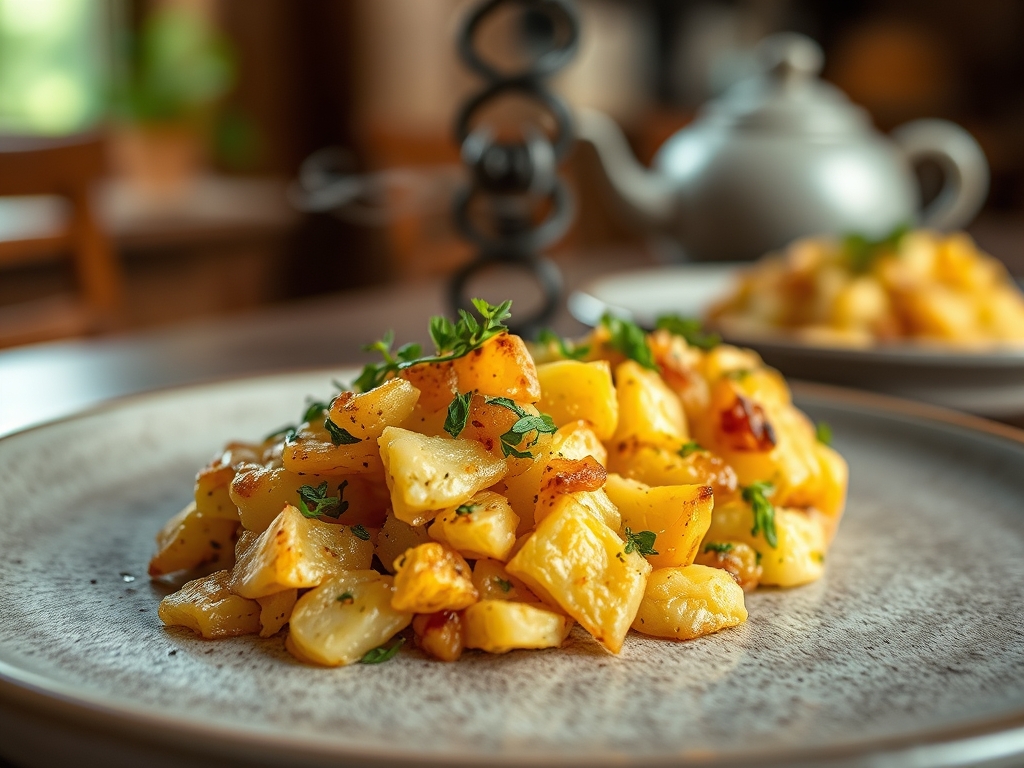
Picture a kitchen filled with the scent of rosemary infused butter and the sound of a heavy bottomed skillet meeting the counter. There is a specific, primal joy in the "crunch" of a perfectly executed potato. We are not talking about a soggy fry or a dry baked spud; we are diving into the world of crushed potato recipes. This technique is the holy grail of side dishes because it maximizes the surface area for the Maillard reaction. By smashing the potato, you create a landscape of jagged peaks and deep valleys. The peaks dehydrate and crisp into golden shards, while the valleys stay fluffy and pillowy. It is a textural paradox that satisfies every craving. Whether you are hosting a high stakes dinner party or just treating yourself on a Tuesday, mastering this method transforms a humble tuber into a culinary masterpiece. Grab your favorite apron and a heavy glass jar; we are about to turn basic starches into gold.
The Gathers:
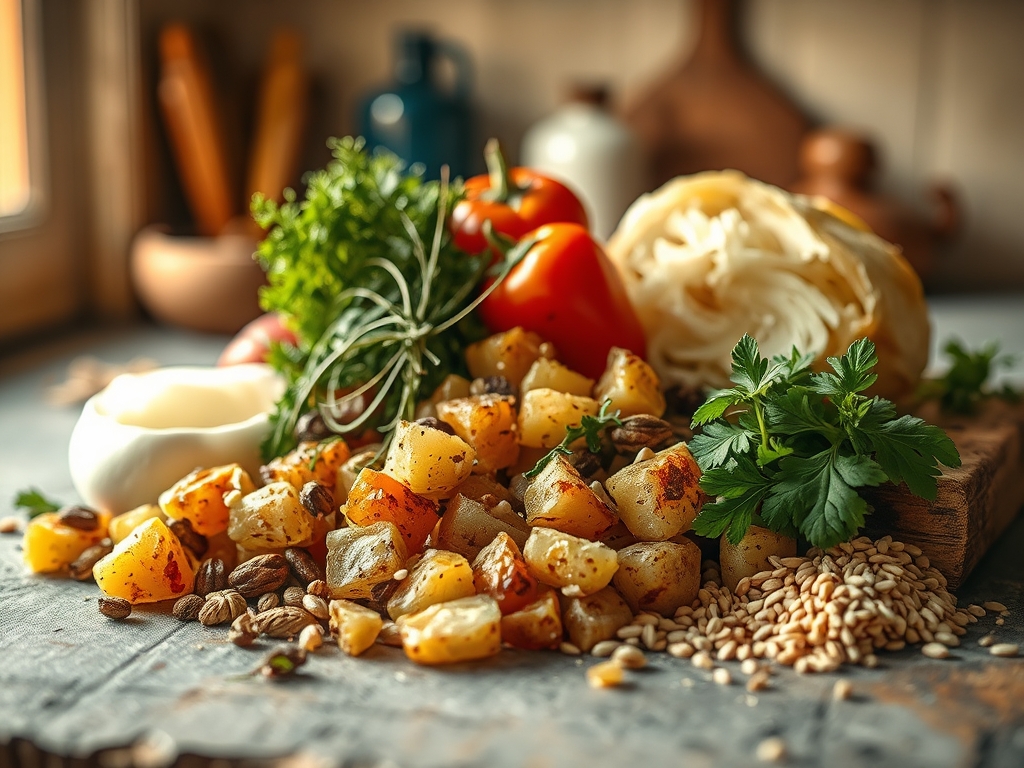
To achieve the ultimate result, your mise-en-place must be intentional. Start with waxy potatoes like Yukon Golds or Baby Reds. Their high moisture and low starch content allow them to hold their shape during the boil but yield to a creamy interior when crushed. You will need a high quality fat; duck fat is the gold standard for its high smoke point and rich flavor, but a refined avocado oil or clarified butter works beautifully to ensure a piquant finish.
Gather your aromatics: fresh sprigs of thyme, rosemary, and several cloves of garlic. You will also need a coarse sea salt, such as Maldon, to provide that final, crystalline crunch. For tools, have a large stockpot, a digital scale for consistency, and a bench scraper to move your delicate potatoes from the tray to the plate without structural failure.
Smart Substitutions: If you are avoiding nightshades, large radishes or even steamed cauliflower florets can be crushed and roasted using this same method. For a vegan twist, replace the butter with a high quality extra virgin olive oil infused with nutritional yeast to mimic that savory, umami depth.
The Clock
Efficiency in the kitchen is all about the "Chef's Flow." Total time for these crushed potato recipes usually clocks in at 50 to 60 minutes. The breakdown is 15 to 20 minutes for the parboil, 5 minutes for the "smash and season" phase, and 30 minutes for the high heat roasting.
The secret to timing is starting your potatoes in cold, salted water. This ensures the exterior does not turn to mush before the core is tender. While the potatoes boil, use that time to render your fats and mince your herbs. By the time the potatoes are drained and steam dried, your oven should be screaming at 425 degrees Fahrenheit. This synchronized workflow ensures that the potatoes hit the heat while they are still warm, which facilitates immediate moisture evaporation and a superior crust.
The Masterclass
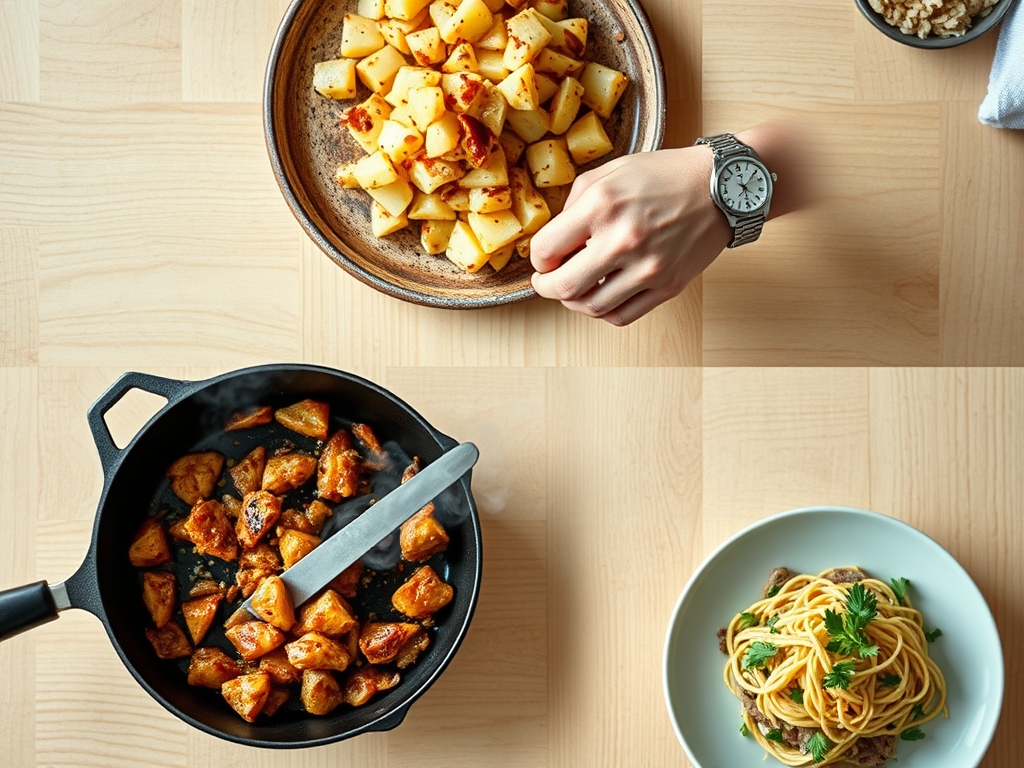
Note the texture in the step-by-step photos below. Each stage is critical for achieving that shatteringly crisp exterior.
1. The Cold Start Parboil
Place your potatoes in a pot of cold, heavily salted water. Bring to a boil and simmer until "fork tender," which means a knife slides in with zero resistance.
Pro Tip: Starting in cold water prevents the starch granules on the surface from bursting too early. This preserves the structural integrity of the potato so it stays intact during the crushing phase.
2. The Steam Dry
Drain the potatoes in a colander and let them sit for three minutes. You want to see visible steam rising from them.
Pro Tip: This is called surface dehydration. Removing excess moisture before adding fat is essential; water is the enemy of the Maillard reaction. If the potatoes are wet, they will steam rather than fry.
3. The Controlled Crush
Place the potatoes on a parchment lined baking sheet. Use a heavy bottomed glass or a potato masher to gently press down until they are about half an inch thick.
Pro Tip: Do not over-crush. You need the "valleys" to remain thick enough to hold moisture. This creates a textural contrast between the aerated, crispy edges and the dense, creamy center.
4. The Fat Infusion
Drizzle your chosen fat generously over the potatoes. Use a pastry brush to ensure every nook and cranny is coated.
Pro Tip: Fat acts as a heat conductor. By filling the jagged crevices of the crushed potato, you are essentially shallow frying the surface in the oven's convection heat.
5. The High Heat Roast
Slide the tray into a 425 degree Fahrenheit oven. Roast for 25 to 30 minutes without moving them.
Pro Tip: This stage relies on thermal carryover. The intense heat triggers the Maillard reaction, where amino acids and reducing sugars rearrange to create hundreds of flavor compounds and that signature brown color.
6. The Herb Shower
In the last five minutes of roasting, toss on your minced garlic and fresh herbs.
Pro Tip: Garlic burns at a lower temperature than potatoes brown. Adding aromatics at the end prevents them from turning bitter while still allowing the oils to infuse into the hot fat.
7. The Acid Brightener
Once out of the oven, hit the potatoes with a squeeze of lemon juice or a dash of malt vinegar.
Pro Tip: The acid cuts through the heavy lipids (fats), balancing the palate and making the savory flavors pop. This is the secret to "restaurant quality" side dishes.
8. The Final Seasoning
Finish with a sprinkle of flaky sea salt and a zest of lemon using a microplane.
Pro Tip: Adding salt at the very end ensures the crystals stay intact. If you salt too early, the salt can draw out internal moisture and soften the crust you worked so hard to build.
The Deep Dive
When we look at the macro nutrition, a standard serving of crushed potatoes provides complex carbohydrates for sustained energy and a surprising amount of Vitamin C and Potassium. To keep it Keto friendly, swap the potatoes for radishes, which lose their peppery bite and become mellow when roasted. For a Vegan version, use avocado oil and finish with a dusting of smoked paprika for a "bacon" like essence.
The Fix-It:
- Potatoes are falling apart: You overboiled them. Next time, pull them out when they just barely resist a fork. Fix it now by gently pressing them back together with a spoon before roasting.
- They aren't getting crispy: Your oven temperature is too low or you crowded the pan. Move them to a larger tray so air can circulate.
- Burnt garlic: You added it too early. If this happens, scrape off the burnt bits and refresh with a zest of lemon and fresh parsley to mask the bitterness.
Meal Prep: To reheat and maintain "day-one" quality, avoid the microwave at all costs. The microwave vibrates water molecules, which turns the crust soggy. Instead, use an air fryer at 350 degrees for five minutes or a dry skillet over medium heat to re-crisp the bottom.
The Wrap-Up
Mastering crushed potato recipes is like learning a magic trick that never fails to impress. It is the perfect marriage of chemistry and comfort food. By controlling moisture, maximizing surface area, and timing your aromatics, you elevate a simple vegetable into something truly extraordinary. Now go forth, get smashing, and enjoy that glorious, golden crunch!
The Kitchen Table
Which potato is best for crushing?
Yukon Gold potatoes are the premier choice. Their waxy texture ensures they hold together after being smashed, while their natural buttery flavor complements the roasting process. Avoid starchy Russets, which tend to disintegrate and become mealy when crushed.
Why are my crushed potatoes soggy?
Sogginess usually results from skipping the steam drying step or crowding the baking sheet. If potatoes are too close together, they release steam that softens their neighbors. Ensure they have plenty of "breathing room" to allow for proper moisture evaporation.
Can I make these ahead of time?
Yes. You can parboil and crush the potatoes up to 24 hours in advance. Store them covered in the refrigerator. When you are ready to serve, simply apply the fat and roast them directly from the fridge for maximum crispness.
What is the best fat for roasting potatoes?
Duck fat or clarified butter (ghee) offers the best flavor and highest smoke point. For a plant based option, avocado oil is superior to olive oil because it can withstand the high oven temperatures without breaking down or smoking.