
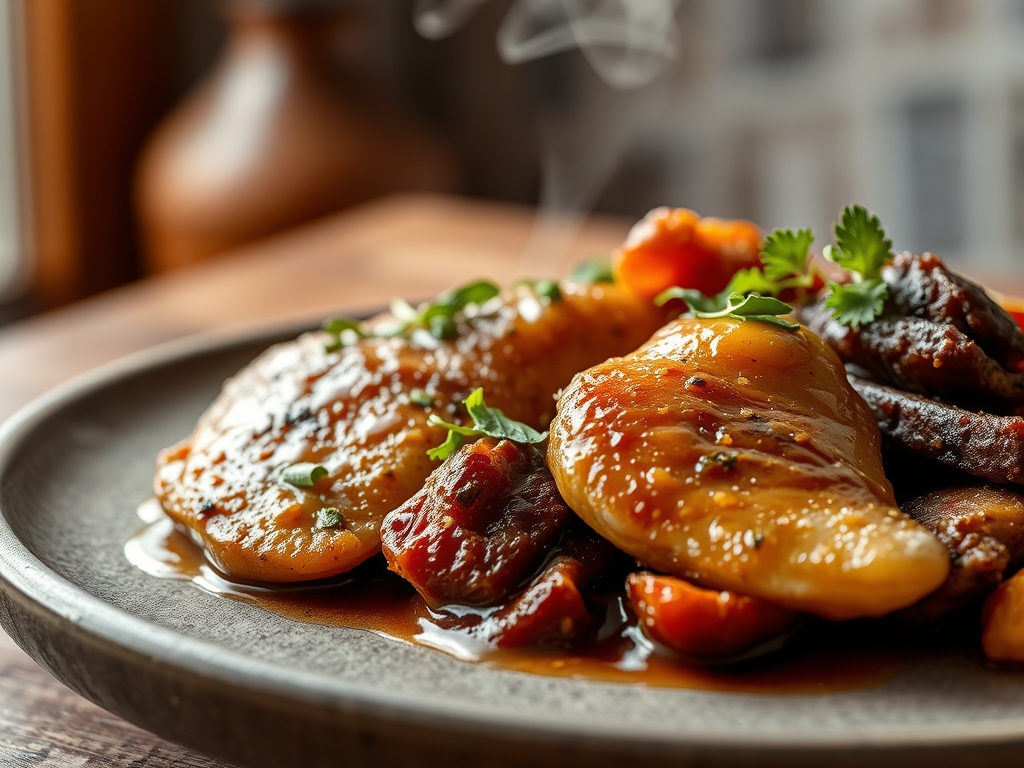
Imagine a kitchen filled with the scent of salty, cured air meeting the savory steam of searing poultry. It is a sensory collision that feels like a warm hug from a rustic French farmhouse. When you dive into chicken and dried beef recipes, you are playing with a secret weapon: umami synergy. The lean, mild profile of the chicken acts as a canvas for the concentrated, salt-forward intensity of the dried beef. As the beef renders its essence into the sauce, it creates a depth of flavor that usually takes hours of simmering to achieve. This is not just comfort food; it is a masterclass in balance. We are taking the humble chipped beef of the past and elevating it into a sophisticated, velvet-textured dinner that will make your guests wonder which culinary school you secretly attended over the weekend.

The Gathers:
To execute these chicken and dried beef recipes with precision, your mise-en-place must be immaculate. Start with high-quality chicken breasts or thighs; the moisture content of the bird will dictate the final viscosity of your sauce. The dried beef should be wafer-thin and translucent. If it is overly salty, a quick blanch in boiling water for thirty seconds will temper the sodium without sacrificing the structural integrity of the meat.
You will need a heavy-bottomed skillet or a saucier to ensure even heat distribution. Grab your microplane for fresh nutmeg and garlic; the fine grate allows these aromatics to melt into the fat rather than burning. For the liquid component, heavy cream or a high-fat coconut milk provides the necessary lipids to emulsify the salt from the beef.
Smart Substitutions:
If you cannot find traditional glass-jarred dried beef, Bresaola is a stunning, high-end alternative that offers a more piquant, herbal note. For a lighter version, swap the heavy cream for a mixture of Greek yogurt and a splash of chicken bone broth. To keep it gluten-free, use arrowroot powder instead of a traditional flour roux to thicken the sauce; it provides a glossy finish that does not cloud the vibrant flavors.
The Clock:
Efficiency in the kitchen is about the Chef's Flow. This is the art of overlapping tasks so that no heat is wasted. Your total active prep time is roughly fifteen minutes, with a cook time of thirty minutes.
Start by slicing your proteins while the skillet preheats. While the chicken undergoes its initial sear, you should be measuring your liquids. The "flow" dictates that you never stand still; the moment the chicken is resting, you are deglazing the pan. This sequence ensures that the residual heat from the pan is harnessed to bloom your spices, cutting down on the overall energy consumption of the dish. Total time from pantry to plate is forty-five minutes, making this a powerhouse for weeknight luxury.
The Masterclass:
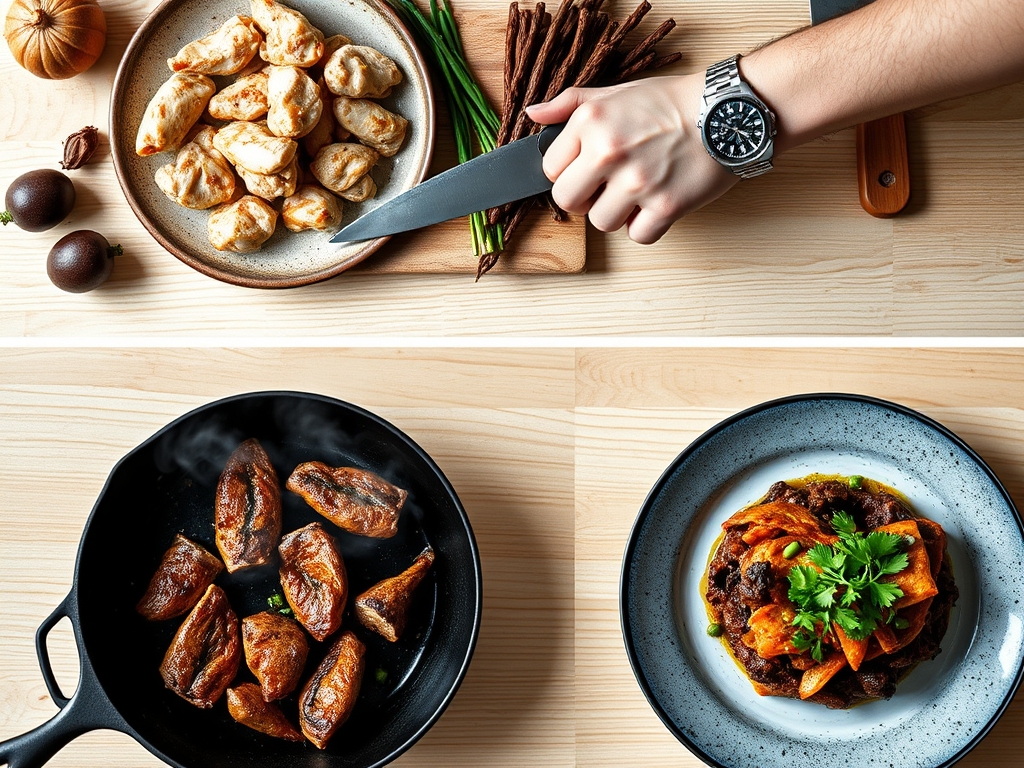
1. The Foundation Sear
Place your chicken in a hot skillet with a neutral oil. Do not crowd the pan; overcrowding drops the surface temperature and leads to steaming rather than searing. Look for a golden-brown crust to form.
Pro Tip: This is the Maillard reaction in action. By allowing the amino acids and reducing sugars to react under high heat, you create hundreds of different flavor compounds that provide the savory "browned" taste essential for depth.
2. Rendering the Beef
Add the sliced dried beef to the pan once the chicken is flipped. The beef contains concentrated salts and proteins that will begin to crisp up and release their cured oils into the pan.
Pro Tip: This step utilizes lipid extraction. The fat from the beef carries the fat-soluble flavor compounds from the curing process, which then infuse the oil you will use to build your sauce.
3. Deglazing the Fond
Once the bottom of the pan is coated in brown bits (the fond), pour in a dry white wine or a splash of broth. Use a wooden spoon or tongs with a silicone tip to scrape the bottom of the pan.
Pro Tip: This is a chemical transition where the solidified proteins are re-hydrated. The acidity in the wine helps break the molecular bonds of the fond, incorporating that concentrated flavor back into the liquid base.
4. Emulsifying the Cream
Lower the heat and whisk in your cream or milk. Constant agitation is key here to prevent the proteins in the dairy from curdling when they hit the acidic deglazing liquid.
Pro Tip: You are creating a stable emulsion. The fats in the cream surround the water-based liquids, creating a smooth, viscous texture. Keeping the heat low prevents the fat from separating, which would result in a greasy sauce.
5. The Aromatics Infusion
Use your microplane to zest in fresh garlic and a hint of lemon peel. Add cracked black pepper, but hold the salt until the very end; the dried beef has likely already provided the necessary sodium.
Pro Tip: This is volatile oil release. Heat activates the essential oils in the garlic and zest. By adding them late in the process, you preserve the bright, top-note aromatics that would otherwise evaporate during a long simmer.
6. The Slow Simmer
Nestle the chicken back into the sauce. Cover the pan and let it simmer on the lowest setting for ten minutes. This allows the chicken to finish cooking through while absorbing the salt and smoke from the beef.
Pro Tip: This stage relies on osmotic pressure. The flavors move from the high-concentration sauce into the lower-concentration chicken tissue, ensuring the meat is seasoned all the way to the bone.
7. The Final Rest
Remove the pan from the heat and let it sit, uncovered, for three minutes before serving. This allows the sauce to thicken naturally as it cools slightly.
Pro Tip: This accounts for thermal carryover. The internal temperature of the chicken will continue to rise by about five degrees after being removed from the heat, ensuring a juicy interior without overcooking the exterior fibers.
The Deep Dive:
When we look at the macro nutrition, this dish is a protein powerhouse. A standard serving offers approximately 35 grams of protein and 20 grams of fat. It is naturally low-carb, making it a dream for Keto enthusiasts. For a vegan version, use soy curls and "vegan jerky" made from mushrooms, substituting the cream with a cashew-based bechamel to maintain that signature richness.
The Fix-It:
- The Sauce is Too Salty: Do not panic. Add a peeled potato to the sauce while it simmers; the starch will absorb excess sodium. Alternatively, a squeeze of lemon juice or a teaspoon of sugar can chemically mask the saltiness.
- The Sauce is Broken: If you see oil floating on top, the emulsion has failed. Whisk in a tablespoon of very cold heavy cream or a teaspoon of mustard to act as a binder and pull the sauce back together.
- The Chicken is Dry: This happens when the heat is too high. Next time, use a digital thermometer to pull the chicken at 160 degrees Fahrenheit; carryover cooking will bring it to the safe 165 mark.
Meal Prep Science:
To reheat this for "day-one" quality, avoid the microwave. The high-frequency waves agitate the water molecules too quickly, toughening the chicken. Instead, reheat in a small saucier over low heat with a tablespoon of water or milk to re-emulsify the sauce and gently warm the proteins.
The Wrap-Up:
You have officially conquered the art of chicken and dried beef recipes! By mastering the balance of cured salt and tender poultry, you have unlocked a flavor profile that is both nostalgic and sophisticated. Remember, great cooking is about understanding how ingredients interact on a molecular level. Now, grab your favorite serving platter, garnish with a handful of fresh parsley to cut through the richness, and enjoy the culinary applause you absolutely deserve. You are the scientist of your own kitchen; keep experimenting and stay hungry for more!
The Kitchen Table:
Can I use frozen chicken for this recipe?
Yes, but ensure it is completely thawed and patted dry with paper towels. Excess moisture on the surface prevents the Maillard reaction, leading to grey, steamed meat rather than a flavorful, golden-brown crust.
What is the best way to store leftovers?
Store in an airtight glass container for up to three days. Glass is non-porous and will not absorb the strong cured scent of the dried beef, keeping your fridge smelling fresh while preserving the delicate sauce texture.
Is dried beef the same as beef jerky?
Not exactly. Dried beef is salt-cured and lean, designed for cooking and rehydrating in sauces. Jerky is often smoked, sweetened, and much tougher, which would drastically alter the flavor profile and texture of this specific dish.
How do I make the sauce thicker without flour?
Allow the sauce to reduce by simmering it uncovered for an extra five minutes. This evaporates the water content, concentrating the fats and proteins to create a naturally thick, velvety coating without the need for additional starches.