

Picture the scene. The kitchen is thick with the scent of rosemary and rendered fat; a heavy, golden perfume that signals the weekend is officially coming to a close. We have all been there, staring at a massive cut of protein and wondering if it will emerge as a masterpiece or a literal brick. When you master sunday roast beef recipes, you are not just cooking dinner; you are performing a delicate dance of heat transfer and protein denaturation. It is the ultimate flex of culinary prowess. I am talking about that deep, mahogany crust that yields to a center so pink and tender it practically sighs when the knife hits it. We are moving beyond the dry, grey slabs of our childhoods. Today, we are using actual science to ensure every slice is a succulent triumph. Grab your favorite apron and a glass of something bold; we are about to transform your kitchen into the neighborhood's most exclusive bistro.
The Gathers:
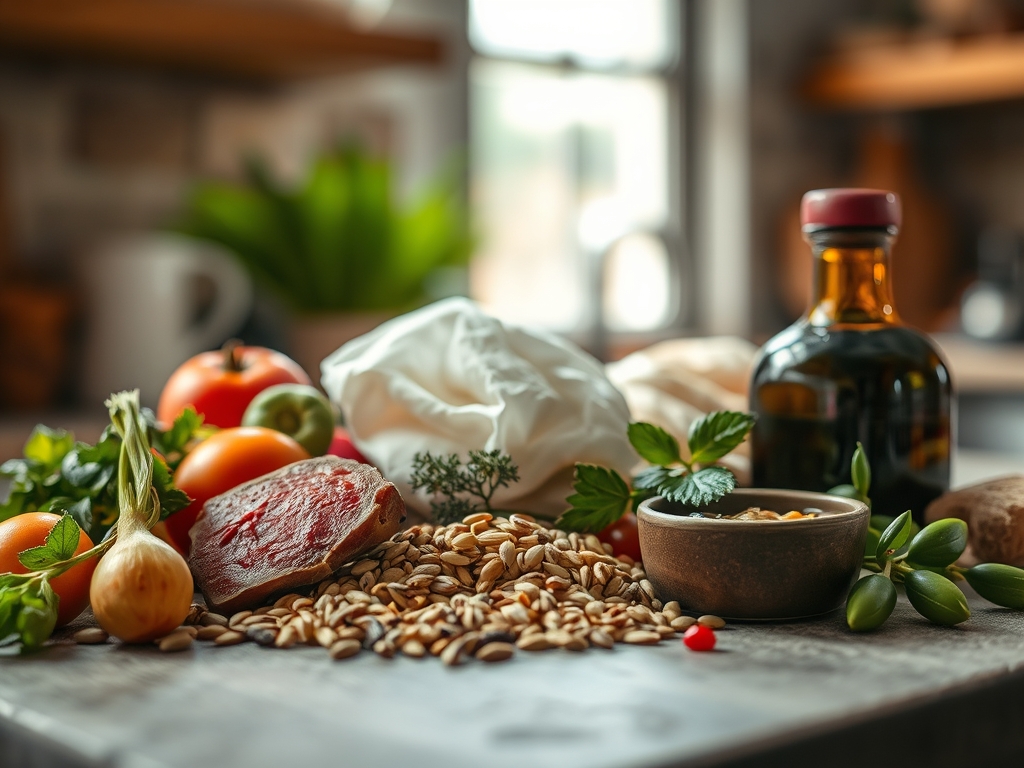
The foundation of any elite roast begins with the Maillard reaction, which requires a dry surface and high-quality lipids. You will need a prime cut of beef, preferably a rib-eye or a top sirloin cap, weighing roughly five pounds. To achieve that piquant crust, gather flaky sea salt, freshly cracked black peppercorns, and a bouquet of woody herbs like thyme and rosemary. You will also need high-smoke-point fats; think duck fat or clarified butter (ghee) rather than extra virgin olive oil, which will smoke and turn bitter at high temperatures.
Smart Substitutions: If you cannot find prime rib, a well-marbled chuck roast can be slow-braised to mimic the tenderness of more expensive cuts. For those avoiding dairy, replace the butter in your herb rub with avocado oil; its neutral profile and high thermal stability make it a perfect vehicle for flavor. If you lack fresh herbs, use a concentrated herb paste rather than dried flakes to ensure the aromatics infuse the fat without becoming gritty.
The Clock
Efficiency in the kitchen is all about Chef's Flow. This is the art of sequencing tasks so that you are never rushing. Total active prep time is approximately 30 minutes, but the passive time is where the magic happens. Your beef needs at least 60 minutes to reach room temperature before it even touches the pan. The roasting process itself will take between 15 to 20 minutes per pound for medium-rare, followed by a non-negotiable 30-minute rest period.
The total timeline sits at roughly three hours. Use the roasting time to aerate your red wine for the jus and to prep your root vegetables. By the time the meat is resting, your oven is free for the Yorkshire puddings. This synchronized timing ensures that everything hits the table at the optimal temperature.
The Masterclass
1. The Tempering Phase
Take your beef out of the refrigerator at least an hour before cooking. Use a digital scale to confirm the weight so your timing is precise. Pat the surface bone-dry with paper towels. Moisture is the enemy of a good sear; any surface water will turn to steam and prevent the crust from forming.
Pro Tip: This is called thermal equilibrium. If the center of the meat is ice-cold when it hits the oven, the exterior will overcook before the interior reaches the safe zone.
2. The Seasoning Barrier
Apply a generous coating of salt and pepper. Do not be shy. You are seasoning a large volume of meat, and much of the salt will fall off during the searing process. Use your hands to press the seasoning into the muscle fibers.
Pro Tip: Salt acts as a denaturant, breaking down tough proteins and allowing the meat to retain more juice during the high-heat phase.
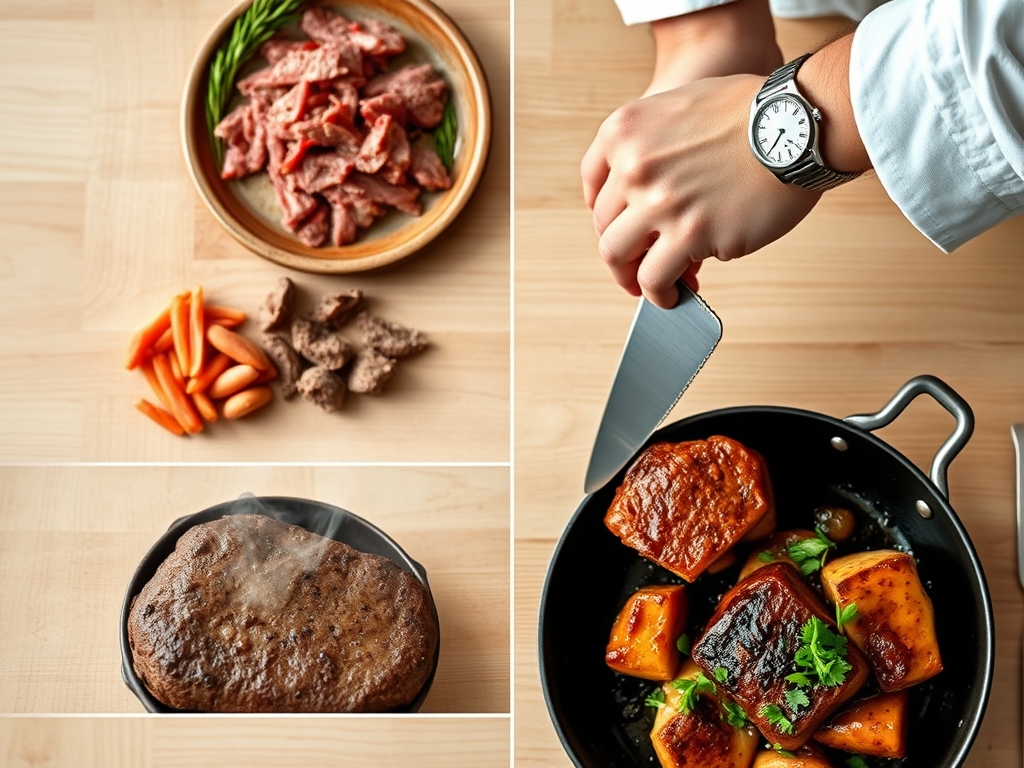
3. The Hard Sear
Heat a heavy-bottomed skillet or a cast-iron pan until it is screaming hot. Add your high-smoke-point fat and sear the beef on all sides using tongs to rotate. You are looking for a deep, dark brown color, not a light tan.
Pro Tip: This is the Maillard reaction in action. The amino acids and reducing sugars are rearranging to create hundreds of different flavor compounds.
4. The Aromatic Infusion
Before moving the beef to the oven, add smashed garlic cloves and whole herb sprigs to the pan. Baste the meat with the flavored fat using a large spoon. This creates a viscous layer of flavor that will penetrate the outer layers of the roast.
Pro Tip: Fat is a flavor carrier. By infusing the fat first, you ensure the aromatics are evenly distributed across the surface of the meat.
5. The Low and Slow Roast
Place the beef on a wire rack inside a roasting pan. This allows hot air to circulate around the entire cut, ensuring an even cook. Slide your digital probe thermometer into the thickest part of the meat, avoiding any bone or fat pockets.
Pro Tip: Cooking at a lower temperature (around 325 degrees Fahrenheit) prevents the outer layers from becoming "grey" and overcooked while the center reaches the target temperature.
6. The Carryover Rest
Remove the beef from the oven when it is 5 to 10 degrees below your target temperature. Transfer it to a warm wooden board. Do not tent it tightly with foil; this will trap steam and soften that beautiful crust you worked so hard to build.
Pro Tip: This is thermal carryover. The residual heat on the surface continues to move toward the center, raising the internal temperature even after the heat source is gone.
7. The Pan Deglaze
While the meat rests, place your roasting pan over a burner. Add a splash of red wine or beef stock and use a bench scraper or whisk to lift the "fond" (the brown bits) from the bottom.
Pro Tip: Deglazing captures the concentrated beef essence left in the pan. This liquid is the base for a high-gloss, professional-grade jus.
8. The Emulsified Jus
Strain the liquid into a saucier. Whisk in a knob of cold butter at the very end to create a silky, stable emulsion. This adds a luxurious mouthfeel and a glossy sheen to your sauce.
Pro Tip: Cold butter contains intact milk solids that help thicken the sauce without the need for a flour-based roux, keeping the flavor clean.
9. The Precision Slice
Use a long, sharp carving knife to slice against the grain. This shortens the muscle fibers, making every bite feel significantly more tender. Note the texture in the step-by-step photos below for the ideal thickness.
Pro Tip: Slicing against the grain is a mechanical way to "pre-chew" the meat, ensuring that even tougher cuts feel like butter on the tongue.
10. The Final Garnish
Finish the platter with a sprinkle of microplaned horseradish or a final dusting of flaky salt. The contrast of the sharp horseradish against the rich, fatty beef provides a necessary acidic lift.
Pro Tip: Salt enhances our perception of other flavors. That final sprinkle "wakes up" the taste buds just before the first bite.
The Deep Dive
From a Macro Nutrition perspective, roast beef is a powerhouse of bioavailable iron, B12, and high-quality protein. A standard 6-ounce serving provides roughly 45 grams of protein, making it an excellent choice for muscle recovery and satiety.
Dietary Swaps: For a Keto version, serve with mashed cauliflower loaded with grass-fed butter. For Vegan guests, a whole roasted cauliflower head treated with the same searing and basting techniques offers a surprisingly meaty texture. To keep it Gluten-Free, ensure your jus is thickened via reduction or cornstarch rather than a traditional flour roux.
The Fix-It:
- Grey Meat: If your roast has a thick grey ring, your oven was too hot. Next time, drop the temp and use a rack.
- Tough Texture: You likely skipped the rest. Resting allows the muscle fibers to reabsorb moisture.
- Burnt Fond: If the pan drippings are black, you cannot use them for sauce. Add a little water to the pan during roasting to prevent scorching.
Meal Prep: To reheat leftovers with "day-one" quality, avoid the microwave. Instead, wrap slices in foil with a spoonful of leftover jus and heat in a 300-degree oven until just warm. This prevents the proteins from tightening up and becoming rubbery.
The Wrap-Up
Mastering sunday roast beef recipes is a rite of passage for any home cook. It is the perfect blend of technical precision and soulful comfort. By focusing on the Maillard reaction, respecting the rest period, and utilizing the right tools like a heavy-bottomed skillet and a digital thermometer, you have elevated a simple meal into a culinary event. Now, go forth and conquer your kitchen; your guests are waiting!
The Kitchen Table
How do I get a better crust on my roast?
Ensure the meat is bone-dry before searing. Use a high-smoke-point fat in a preheated cast-iron skillet. Do not crowd the pan; steam is the enemy of the Maillard reaction. A heavy sear before roasting is the secret to deep flavor.
What is the best internal temperature for medium-rare?
Aim for an internal temperature of 130 to 135 degrees Fahrenheit after resting. Pull the meat out of the oven when the thermometer reads 120 to 125 degrees, as carryover cooking will bridge the remaining gap during the rest.
Why is my roast beef always tough?
Toughness usually results from skipping the resting phase or slicing with the grain. Resting allows fibers to relax and reabsorb juices. Always slice perpendicular to the muscle fibers to ensure the shortest possible grain for maximum tenderness.
Can I cook a roast beef from frozen?
It is not recommended. The exterior will overcook and dry out before the center even thaws. For the best results, always thaw completely in the refrigerator and temper the meat at room temperature for an hour before cooking.