
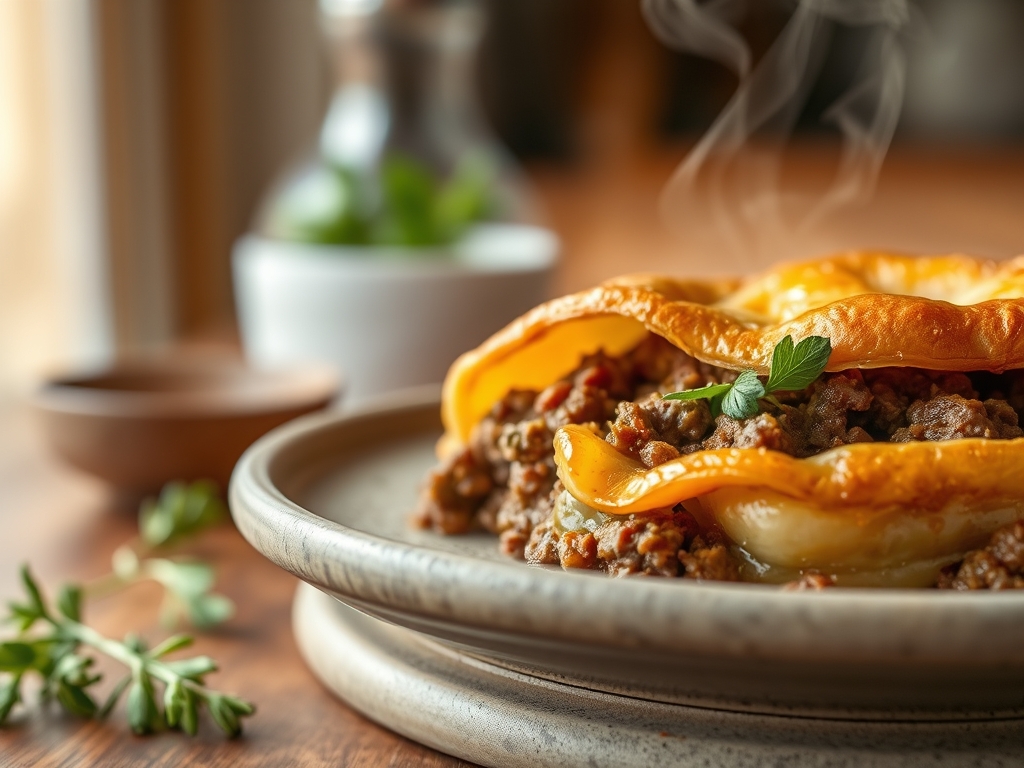
Imagine the scent of buttery, laminated dough hitting a hot oven while savory, seasoned meat renders its juices into a rich gravy. This is the ultimate comfort fusion. Mastering pie crust ground beef recipes is not just about dinner; it is about understanding the structural integrity of pastry meeting the robust protein of beef. Whether you are crafting a rustic galette or a sophisticated hand pie, the contrast between a crisp, shattered crust and a succulent filling is pure culinary magic. We are moving beyond the basic pot pie into a realm where texture reigns supreme. By the end of this guide, you will be wielding your rolling pin like a pro and transforming humble ground meat into a centerpiece that looks like it belongs on a magazine cover.
The Gathers:
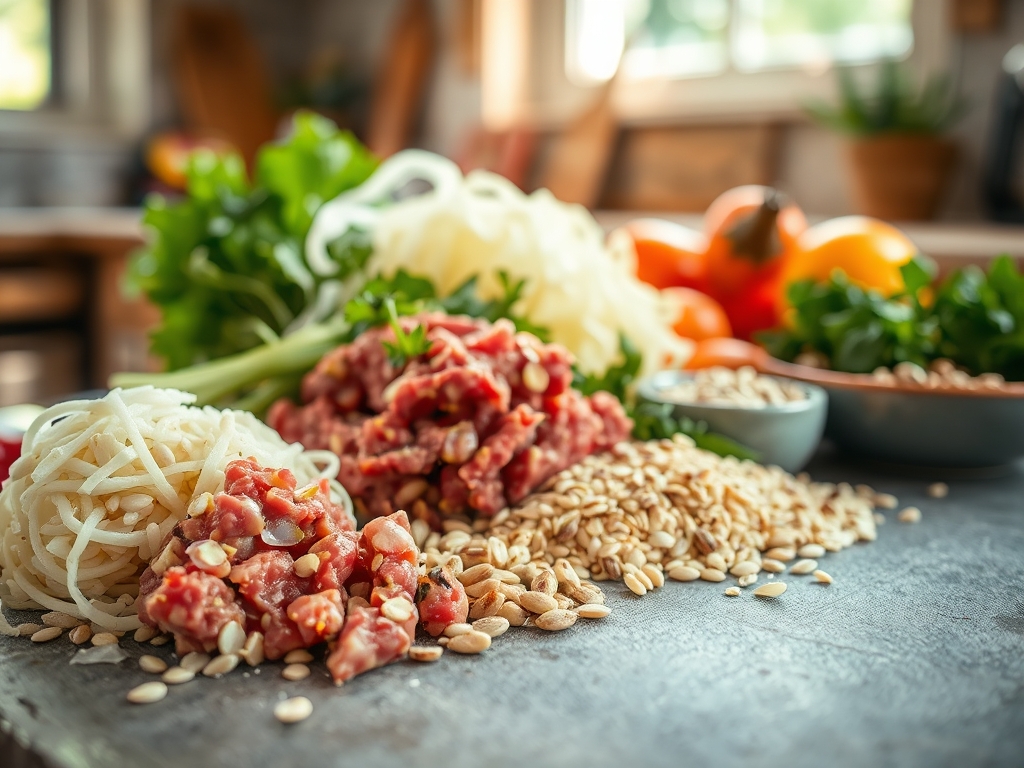
Before we fire up the range, your mise-en-place must be precise. Start with high-quality ground beef; ideally a 80/20 blend. This ratio ensures enough fat to render and create a viscous mouthfeel without making the pastry soggy. For the crust, you need chilled fats. Cold butter is non-negotiable because those tiny pockets of fat create steam, which is the engine behind a flaky lift.
Your tool kit should include a heavy-bottomed skillet for even heat distribution and a bench scraper to handle the dough without overworking it. Grab a microplane for zesting aromatics and a digital scale to ensure your dough-to-filling ratio is mathematically perfect.
Smart Substitutions:
If you want to lighten the profile, swap 50 percent of the beef for finely minced cremini mushrooms. This creates an umami-rich "duxelles" effect that mimics the texture of meat while reducing saturated fat. For the crust, if you are out of butter, high-quality leaf lard provides an even shorter, more tender crumb that pairs beautifully with savory beef.
The Clock
Efficiency in the kitchen is about "Chef's Flow." This is the logical sequencing of tasks to minimize downtime and maximize flavor development. Total prep time for these hacks usually clocks in at 30 minutes, with a bake time of 25 to 40 minutes depending on the size of your pastry.
Start by chilling your dough. While the gluten relaxes and the fats firm up, you move to the stovetop. This overlap is crucial. By the time your beef filling has been deglazed and cooled to room temperature, your dough is perfectly primed for rolling. Never put hot filling on raw dough; it will melt the fat instantly and result in a "soggy bottom." Plan for a 15-minute cooling window for the meat before assembly.
The Masterclass
1. The Maillard Sear
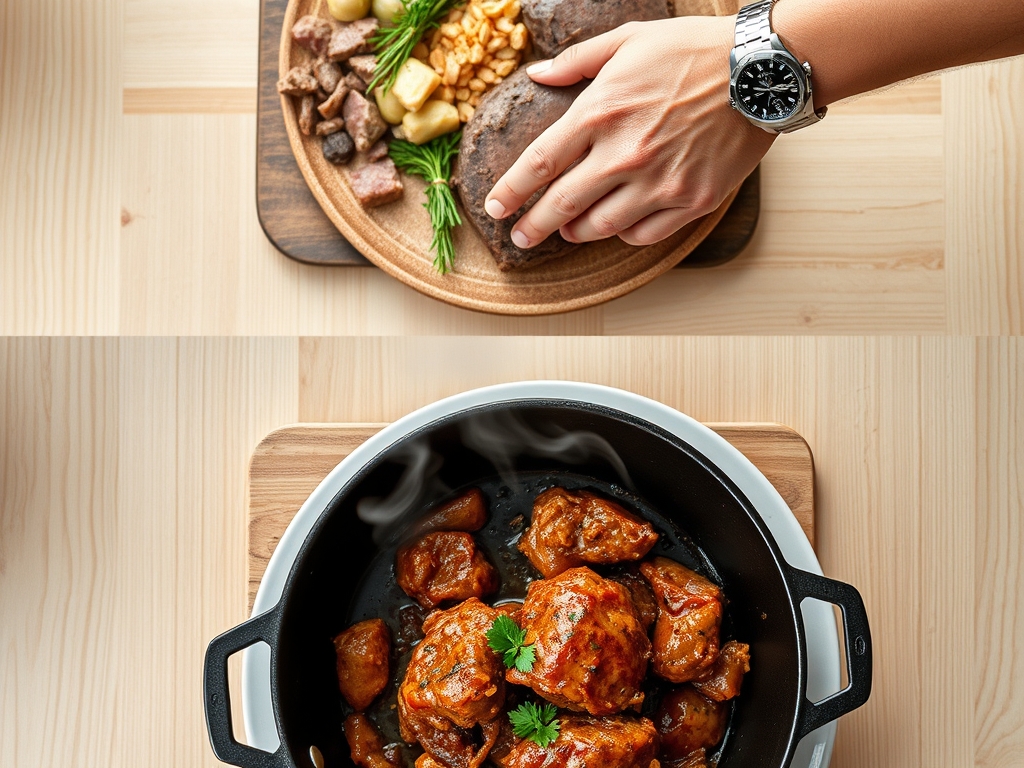
Place your beef in a preheated heavy-bottomed skillet. Do not crowd the pan. Let the meat sit undisturbed for three minutes to achieve a deep, mahogany crust. This is where the flavor lives.
Pro Tip: This process is called the Maillard Reaction. It is a chemical reaction between amino acids and reducing sugars that creates complex flavor compounds. If you stir too early, you steam the meat instead of searing it.
2. Deglazing the Fond
Once the meat is browned, remove it and use a liquid like beef stock or a splash of red wine to scrape up the brown bits (the fond) from the bottom of the pan.
Pro Tip: Deglazing utilizes solvent extraction to incorporate caramelized proteins back into your sauce. This ensures every bite of your pie crust ground beef recipes has maximum depth.
3. Aerating the Pastry
When rolling out your store-bought or homemade crust, use a light touch. Dust your surface with flour and roll from the center outward, rotating the dough frequently.
Pro Tip: Use a bench scraper to keep the dough moving. Keeping the dough cold prevents the solid fats from emulsifying with the flour, which is the secret to a shattered, flaky texture.
4. The Egg Wash Seal
Before sealing your beef inside the crust, brush the edges with a beaten egg mixed with a teaspoon of water. Crimp the edges tightly with a fork or by hand.
Pro Tip: The proteins in the egg act as a biological glue. During baking, the egg wash also undergoes enzymatic browning, giving your crust that professional golden-yellow sheen.
5. Steam Venting
Always cut small slits in the top of your meat pie. This allows steam to escape during the baking process.
Pro Tip: Without vents, internal steam builds pressure, which can cause the crust to separate from the filling or blow out at the seams. This is basic thermodynamics in action.
6. Thermal Carryover Rest
Once the pie comes out of the oven, let it sit on a wire rack for at least ten minutes before slicing.
Pro Tip: This allows for thermal carryover. The internal temperature will continue to rise slightly, and the juices will redistribute and thicken, ensuring the filling stays put when sliced.
7. Infusing Aromatics
Add your herbs like thyme or rosemary at the very end of the beef cooking process. This preserves the volatile oils that provide the scent.
Pro Tip: High heat destroys delicate aromatic compounds. By adding them late, you infuse the fat with flavor without burning the herbs.
8. The Texture Contrast Finish
For a final touch, sprinkle flaky sea salt or cracked black pepper over the egg-washed crust before it hits the oven.
Pro Tip: This adds a sensory "pop" and enhances the perception of the savory beef. Salt is a flavor multiplier that suppresses bitterness and highlights the sweetness of the butter.
The Deep Dive
Macro Nutrition:
A standard serving of a beef-filled pastry provides a balanced profile of protein and carbohydrates. On average, one hand pie contains 350 calories, 18g of protein, and 22g of fats. To increase fiber, always incorporate finely diced carrots or peas into the beef mixture.
Dietary Swaps:
For a Keto version, replace the traditional wheat crust with a "fathead" dough made from mozzarella and almond flour. For Vegan guests, use a plant-based ground crumble and a coconut oil-based pastry. Gluten-Free bakers should look for flour blends containing xanthan gum to provide the elasticity usually found in gluten.
The Fix-It:
- The Soggy Bottom: If your crust is wet, you likely used a filling that was too liquid. Next time, thicken your beef with a roux or cornstarch slurry.
- Tough Crust: This happens from overworking the dough. Use a bench scraper and handle the dough as little as possible to prevent gluten over-development.
- Leaking Filling: Your seal failed. Ensure you use a proper egg wash and do not overfill the pastry.
Meal Prep & Reheating:
To maintain "day-one" quality, never reheat in the microwave. The microwave agitates water molecules, making the crust rubbery. Instead, use a toaster oven at 350 degrees Fahrenheit. This re-crisps the fats through conduction, restoring the original lamination.
The Wrap-Up
You are now officially equipped to turn a simple package of meat and a roll of dough into a culinary masterpiece. By focusing on the science of the sear and the physics of the pastry, your pie crust ground beef recipes will stand out for their technical execution and incredible flavor. Remember, cooking is just delicious chemistry. Go grab your saucier, preheat that oven, and let the Maillard reaction work its magic. Your kitchen is about to smell like a high-end French bistro!
The Kitchen Table
Can I use frozen pie crust for these recipes?
Yes, frozen crust works perfectly. Ensure you thaw it completely in the refrigerator before rolling. This maintains the fat's temperature, ensuring the crust remains flaky rather than crumbly when it hits the high heat of the oven.
How do I prevent the beef from being greasy?
Always drain the rendered fat after browning your beef. You can also add a tablespoon of flour to the meat before adding liquids; this creates a light gravy that binds the remaining fats into a delicious, stable sauce.
What is the best way to store leftovers?
Store leftover beef pies in an airtight container in the fridge for up to three days. For the best texture, reheat them in an oven or air fryer to ensure the pastry regains its signature crunch and structural integrity.
Can I freeze these pies before baking?
Absolutely. Assemble the pies but do not apply the egg wash. Freeze them on a parchment-lined tray, then transfer to a freezer bag. Bake directly from frozen, adding about ten minutes to the total baking time for a perfect finish.