
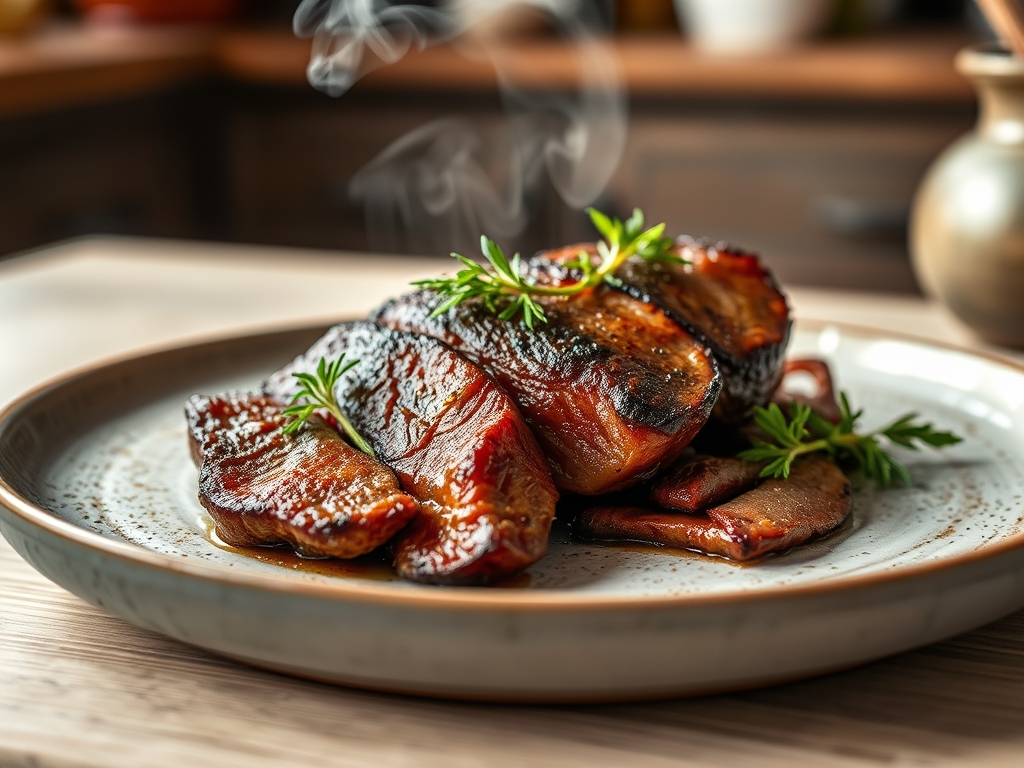
Picture this: the kitchen is humming with the scent of toasted peppercorns and rendered fat; a deep, savory perfume that signals a Sunday well spent. We are chasing that perfect crust and the edge to edge pink center that defines the best oven roast beef recipes. It is not just dinner; it is a masterclass in heat management and patience.
To achieve that iconic result, we have to move beyond just tossing a slab of protein into a hot box. We are looking for a specific chemical transformation. We want the Maillard reaction to work its magic on the exterior while the interior remains succulent and tender. This requires a bit of culinary choreography and an understanding of how muscle fibers react to thermal stress. If you have ever pulled a roast out only to find it gray and dry, do not worry. We are going to fix that today with precision and a little bit of wit.
We will focus on the interplay between salt, time, and temperature. By the time we are done, you will be the person everyone asks for advice when the holidays roll around. Grab your apron and let us get into the grit of it.
The Gathers:
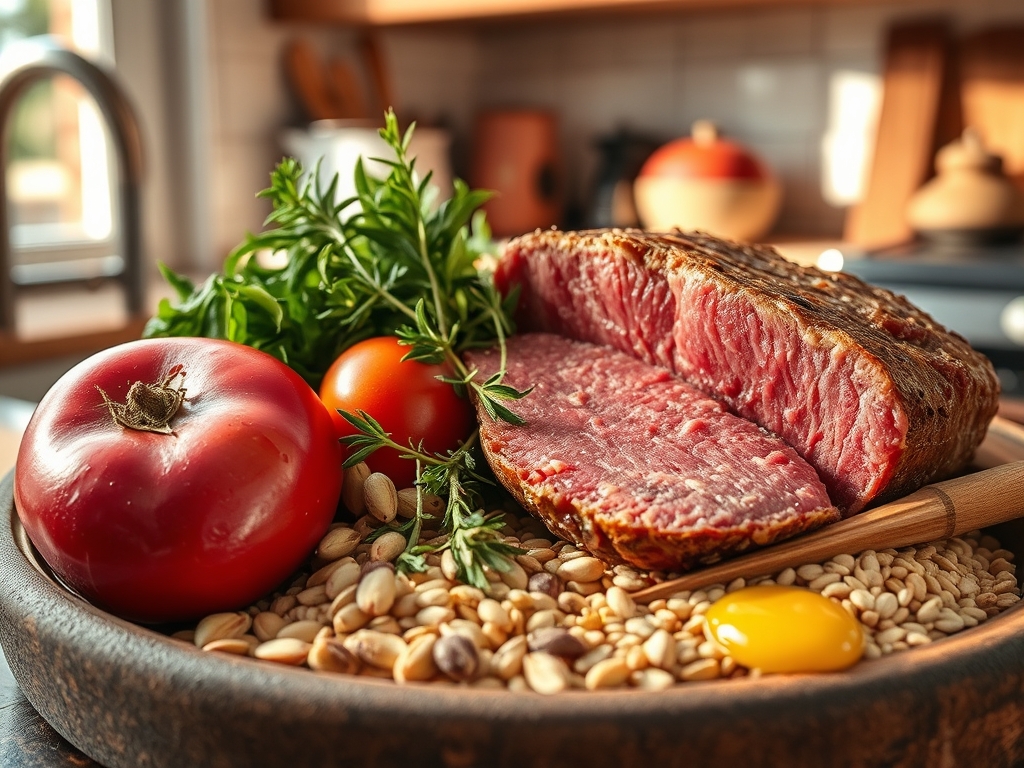
Your mise-en-place is the foundation of your success. Start with a high quality cut of beef, such as a ribeye roast or a top round, depending on your budget. You will need a digital scale to measure your kosher salt accurately; precision here prevents over seasoning. Gather fresh aromatics: sprigs of rosemary, thyme, and a whole head of garlic. For the crust, you will need cracked black peppercorns and perhaps a touch of dry mustard powder to add a piquant edge.
For the fats, choose a high smoke point oil like avocado oil or clarified butter. We want to avoid extra virgin olive oil for the initial sear because it will smoke and turn bitter at high temperatures. If you are looking for Smart Substitutions, you can swap the beef stock in your pan sauce for a rich mushroom broth to add an earthy depth. If you are avoiding gluten, ensure your thickening agent for the jus is arrowroot powder or a cornstarch slurry instead of flour. Always have a microplane ready to zest a little lemon over the finished meat; it cuts through the richness beautifully.
The Clock
The "Chef's Flow" is all about timing the rest as much as the roast. Your prep will take about 20 minutes of active work, but the beef needs to sit at room temperature for at least 60 minutes before hitting the heat. This ensures the center is not ice cold when the outside starts cooking.
The roasting time varies based on weight, usually 15 to 20 minutes per pound for medium rare. However, the most critical window is the 30 minute rest period after the oven. During this time, the internal juices redistribute. If you cut it too soon, those juices will flood the cutting board, leaving the meat parched. Plan for a total window of 3 to 4 hours from fridge to table.

The Masterclass
1. The Dry Brine Technique
Generously coat your roast in kosher salt at least 24 hours in advance and leave it uncovered in the fridge. This allows the salt to penetrate the deep muscle fibers and alters the protein structure to retain more moisture.
Pro Tip: This process is called denaturation. Salt breaks down the tightly wound proteins, allowing them to hold onto water even as they heat up.
2. Tempering the Meat
Take the beef out of the refrigerator one hour before cooking. Use a paper towel to pat the surface bone-dry. Moisture is the enemy of a good sear; any surface water will turn to steam and prevent browning.
Pro Tip: This reduces the thermal gradient between the oven and the meat, ensuring the exterior does not overcook before the center reaches the target temperature.
3. The High Heat Blast
Start your roast in a preheated 450 degree oven for the first 15 minutes. This initial blast of heat kickstarts the Maillard reaction, creating a complex, savory crust.
Pro Tip: The Maillard reaction occurs between amino acids and reducing sugars. It creates hundreds of different flavor compounds that give the beef its "roasty" aroma.
4. Low and Slow Finishing
Drop the oven temperature to 325 degrees to finish the cooking process. Use a heavy-bottomed skillet or a roasting pan with a rack to allow air to circulate around the entire roast.
Pro Tip: Lower temperatures prevent the outer layers of the meat from becoming viscous and tough, keeping the texture uniform throughout the cut.
5. Monitoring Internal Temperature
Forget the clock and use a probe thermometer. For a perfect medium rare, pull the beef out when it hits 125 degrees.
Pro Tip: You are accounting for thermal carryover. The internal temperature will continue to rise by 5 to 10 degrees after you remove it from the oven.
6. The Aromatic Baste
During the last 10 minutes of cooking, toss butter, garlic, and thyme into the pan. Use a large spoon to infuse the hot fat over the top of the meat.
Pro Tip: Fat is a flavor carrier. This step adds a final layer of richness and ensures the crust stays supple rather than brittle.
7. The Essential Rest
Place the roast on a warm platter and tent it loosely with foil. Do not wrap it tightly, or the steam will soften your beautiful crust. Let it sit for at least 20 minutes.
Pro Tip: Resting allows the pressure inside the meat to equalize. As the fibers relax, they reabsorb the juices that were pushed toward the center during cooking.
8. Deglazing for the Jus
While the meat rests, place your roasting pan over a burner. Use a saucier or a whisk to deglaze the brown bits (fond) with red wine or beef stock.
Pro Tip: The fond contains concentrated flavor molecules. Adding liquid and scraping the pan releases these into a delicious, savory sauce.
9. Slicing Against the Grain
Use a sharp carving knife to slice the beef against the grain. Look for the direction the muscle fibers are running and cut perpendicular to them.
Pro Tip: This shortens the fibers, making every bite feel significantly more tender on the palate.
The Deep Dive
From a nutritional standpoint, roast beef is a powerhouse of iron, B12, and high quality protein. A standard 4 ounce serving contains roughly 250 calories and 28 grams of protein. For those on a Keto diet, this is a perfect centerpiece. If you are looking for a Vegan alternative, try roasting a whole "meat" of lion's mane mushrooms using the same aromatic basting techniques.
The Fix-It:
If your roast is too tough, you likely skipped the resting phase or sliced with the grain. If the exterior is burnt but the inside is raw, your oven was too hot; tent it with foil and lower the heat immediately. If the meat is gray all the way through, you overcooked it. Slice it very thin and serve it with a very moist gravy to compensate.
Meal Prep:
To reheat leftovers without losing quality, use a low oven (250 degrees) with a splash of beef stock in the pan. Cover it tightly with foil. This gently steams the meat back to temperature without restarting the cooking process.
The Wrap-Up
Mastering the best oven roast beef recipes is a rite of passage for any home cook. It is about respecting the science of the sear and the patience of the rest. When you pull that glistening, mahogany roast from the oven, you are not just serving a meal; you are serving a triumph of technique. Now go forth, grab your tongs, and make something legendary.
The Kitchen Table
How long should I rest my roast beef?
Rest your roast for at least 15 to 20 minutes. This allows the internal juices to redistribute through the muscle fibers. If you cut it too early, the moisture will escape, leaving the meat dry and tough.
What is the best temperature for medium-rare?
Pull the beef from the oven when it reaches an internal temperature of 125 degrees. Carryover cooking will bring it up to the ideal medium-rare range of 130 to 135 degrees as it rests on the counter.
Why is my roast beef tough?
Toughness usually results from overcooking or skipping the resting period. Additionally, failing to slice against the grain leaves long muscle fibers intact, which are difficult to chew. Always cut perpendicular to the natural lines in the meat.
Do I need to sear the beef before roasting?
While not strictly required, searing creates a flavorful crust through the Maillard reaction. You can sear in a hot pan first or start the oven at a very high temperature before dropping it down to finish.