
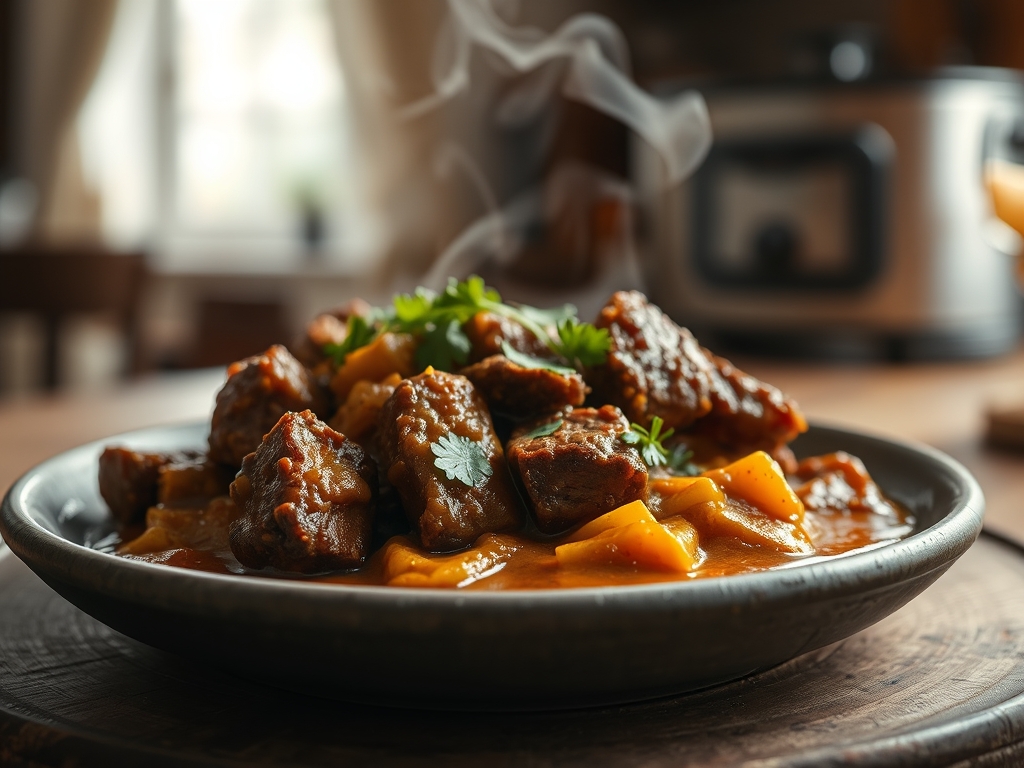
Imagine the heavy, golden scent of toasted cumin and coriander swirling through your kitchen as the sun begins to set. There is a specific kind of magic that happens when tough fibers of chuck roast surrender to a low, steady heat; transforming into butter-soft morsels bathed in a velvet sauce. When you search for curry beef recipes slow cooker enthusiasts swear by, you are looking for more than just a meal. You are looking for that perfect intersection of convenience and high-end culinary chemistry. This is the art of the slow burn. We are moving past the "dump and go" mentality to embrace techniques that build layers of flavor that taste like they took a week to develop. Whether you are craving a piquant Madras or a creamy Massaman, the secret lies in how we manipulate the proteins and spices before the lid even closes. Grab your favorite apron; we are about to turn your ceramic crock into a vessel of pure, aromatic gold.
The Gathers:
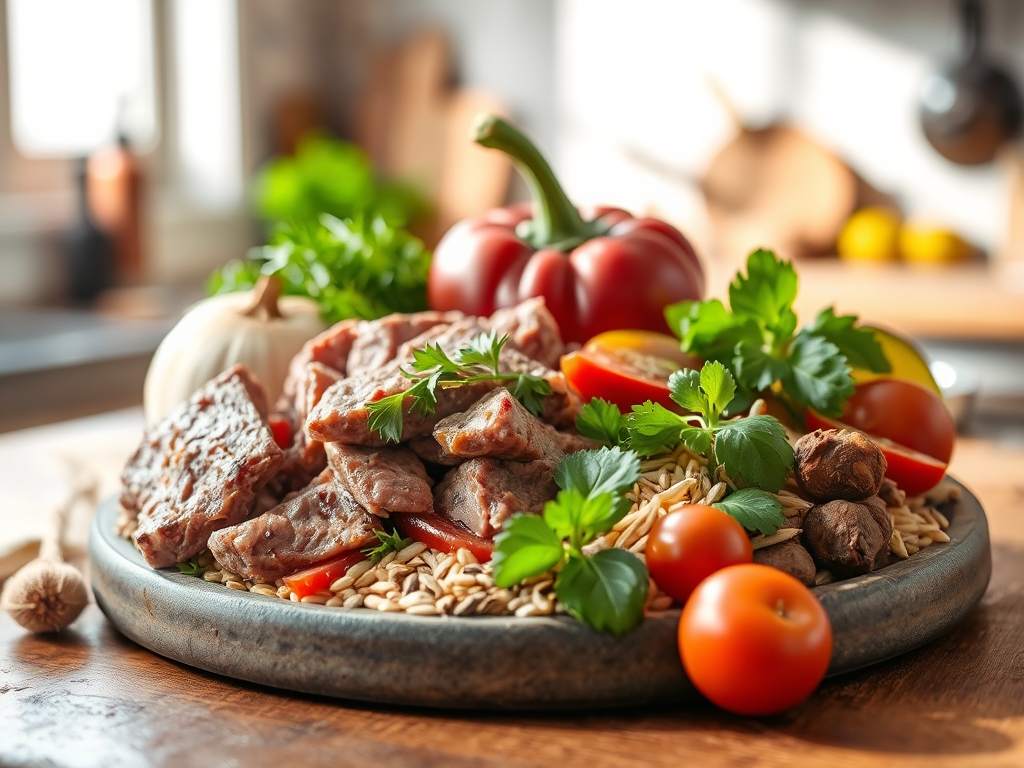
To achieve a restaurant-quality finish, your mise-en-place must be intentional. Start with 3 pounds of beef chuck. This cut is superior to "stew meat" because it contains a higher concentration of collagen, which breaks down into gelatin to create a viscous mouthfeel. You will need a high-quality fat source like ghee for its high smoke point and nutty profile. For the aromatics, gather fresh ginger, garlic, and shallots. Use a microplane to grate these into a fine paste; this increases the surface area for maximum flavor extraction. Your spice kit should include turmeric, garam masala, and toasted fennel seeds.
Smart Substitutions are your best friend when the pantry is bare. If you lack ghee, use avocado oil paired with a tablespoon of butter to mimic that richness. No fresh ginger? A dash of galangal powder provides a similar earthy heat. If you find your sauce lacks body, a tablespoon of tomato paste added during the searing phase provides umami and natural sugars for caramelization. Always measure your spices using a digital scale if you want consistency; volume measurements can vary wildly depending on how tightly the powder is packed.
The Clock: Timing the Magic
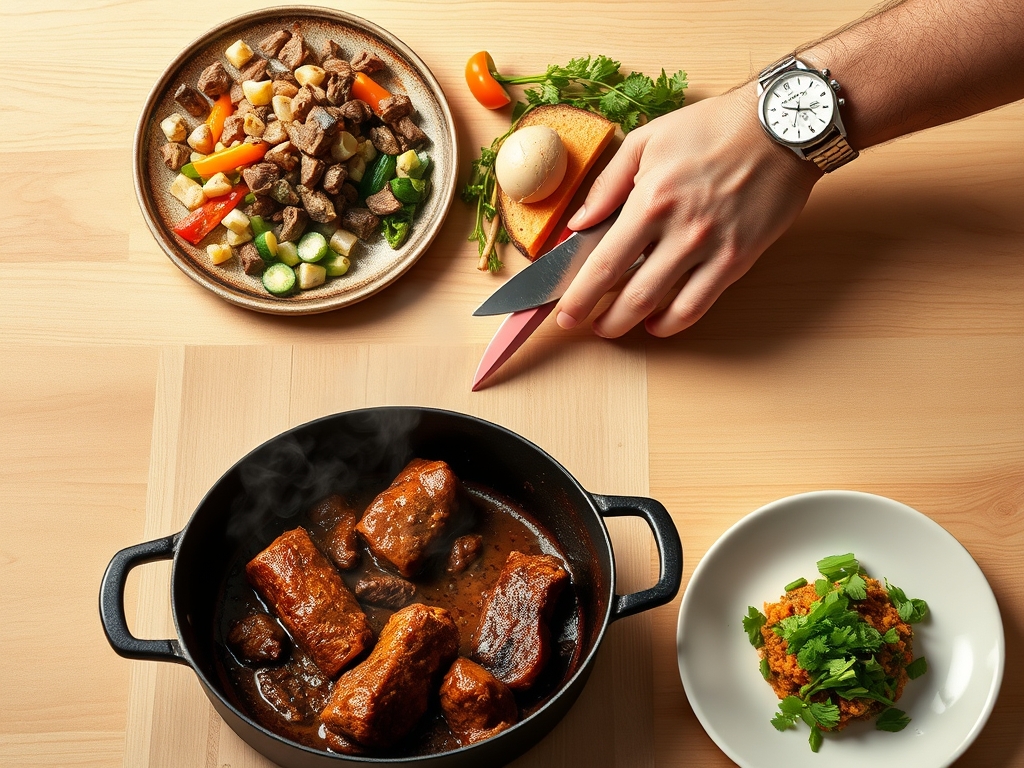
The "Chef's Flow" for this recipe is divided into 30 minutes of active prep and 6 to 8 hours of passive cooking. Do not rush the process. While modern cookers have a "high" setting, the "low" setting is where the proteolytic enzymes do their best work without toughening the muscle fibers.
- Active Prep (30 Minutes): This includes the "Bloom and Sear" phase. Skipping this step is the difference between a flat stew and a multidimensional curry.
- Slow Cook (6-8 Hours on Low): This is the window where connective tissue transforms into silk.
- The Finish (15 Minutes): This involves adding "bright" elements like fresh cilantro, lime juice, or a splash of coconut cream to balance the heavy fats.
The Masterclass:
1. The Maillard Sear
Pat your beef cubes bone-dry with paper towels. Heat your heavy-bottomed skillet until the oil shimmers. Sear the beef in batches using tongs to ensure each side develops a deep, mahogany crust.
Pro Tip: This is the Maillard Reaction at work. By browning the meat at high heat, you create hundreds of different flavor compounds that simply cannot be replicated by the slow cooker alone. The crust provides the "base note" for your entire curry profile.
2. Deglaze and Bloom
Once the meat is removed, use a saucier or your skillet to sauté the aromatics. Add your dry spices to the hot fat for 60 seconds until they become fragrant. Pour in a splash of beef stock or dry sherry to deglaze the pan, using a bench scraper or wooden spoon to lift the "fond" (those delicious brown bits) from the bottom.
Pro Tip: Spices are fat-soluble. Blooming them in hot oil releases the essential oils trapped within the dried husks, intensifying the piquant aroma and ensuring the flavor permeates the entire liquid volume.
3. The Low and Slow Infusion
Transfer the beef, the bloomed spice paste, and your liquids (coconut milk or stock) into the slow cooker. Ensure the meat is not fully submerged; a little "headspace" allows for better steam circulation and prevents the sauce from becoming too watery.
Pro Tip: This stage relies on thermal carryover. As the ceramic pot heats evenly, the collagen in the beef begins to denature at approximately 160 degrees Fahrenheit, turning into gelatin. This is why the meat feels "juicy" even though it is technically well-done.
4. The Emulsification Finish
In the final thirty minutes, if your sauce looks thin, whisk in a "slurry" of cornstarch and water or a dollop of full-fat Greek yogurt. Use a whisk to aerate the sauce slightly as you stir.
Pro Tip: Adding fats or starches at the end creates an emulsion. This binds the water and oil phases of your curry together, resulting in a glossy, professional sheen that clings to the back of a spoon.
The Deep Dive:
Macro Nutrition & Dietary Swaps
A standard serving of this beef curry provides approximately 35g of protein and 22g of healthy fats. To make this Keto-friendly, swap potatoes for cauliflower florets added in the last hour. For a Vegan alternative, replace the beef with "meaty" king oyster mushrooms or extra-firm tofu, though you should reduce the cooking time to 3 hours to prevent the vegetables from disintegrating. This recipe is naturally Gluten-Free as long as you use a GF-certified beef stock.
The Fix-It: Common Pitfalls
- The Sauce is Too Thin: Do not keep the lid on. Remove the lid for the last 45 minutes of cooking to allow evaporation, or stir in a tablespoon of peanut butter for instant thickness and depth.
- The Meat is Tough: You likely used the "High" setting or did not cook it long enough. Beef chuck needs time to break down. If it is tough, give it another hour.
- The Flavor is Flat: This usually means a lack of acidity. Stir in a squeeze of fresh lime juice or a teaspoon of apple cider vinegar right before serving to "wake up" the spices.
Meal Prep and Reheating
Curry is notoriously better on day two. As the mixture cools, the spices continue to infuse the protein. To reheat, avoid the microwave if possible. Use a small pot on the stove over low heat, adding a tablespoon of water to loosen the sauce. This prevents the fats from separating and maintains the viscous texture of the gravy.
The Wrap-Up:
Mastering curry beef recipes slow cooker style is about respecting the ingredients as much as the process. By taking the time to sear your protein and bloom your spices, you are elevating a humble weeknight dinner into a gourmet experience. This dish is a warm hug in a bowl; a complex, spicy, and deeply satisfying reward for a few minutes of morning effort. So, set your timer, let the aromatics fill your home, and get ready to serve a meal that your friends will be talking about for weeks.
The Kitchen Table:
Which cut of beef is best for slow cooking?
Beef chuck roast is the gold standard. It contains the perfect ratio of lean muscle to connective tissue. As it cooks, the collagen melts into gelatin, ensuring the meat remains succulent and the sauce becomes naturally thick and rich.
Can I put raw beef directly into the slow cooker?
You can, but you should not. Searing the beef first triggers the Maillard reaction, which creates deep, complex flavors. Skipping this step results in a "boiled" meat texture and a much flatter, less savory sauce profile.
Why is my slow cooker curry watery?
Vegetables and meat release significant moisture during the long cooking process. To fix this, use less liquid than you think you need, or whisk in a cornstarch slurry during the final 30 minutes to emulsify and thicken the gravy.
How do I prevent coconut milk from curdling?
High heat for long periods can cause coconut milk to break. For the best results, use full-fat canned coconut milk and consider adding half at the start and the remaining half during the final hour of cooking for a creamy finish.