
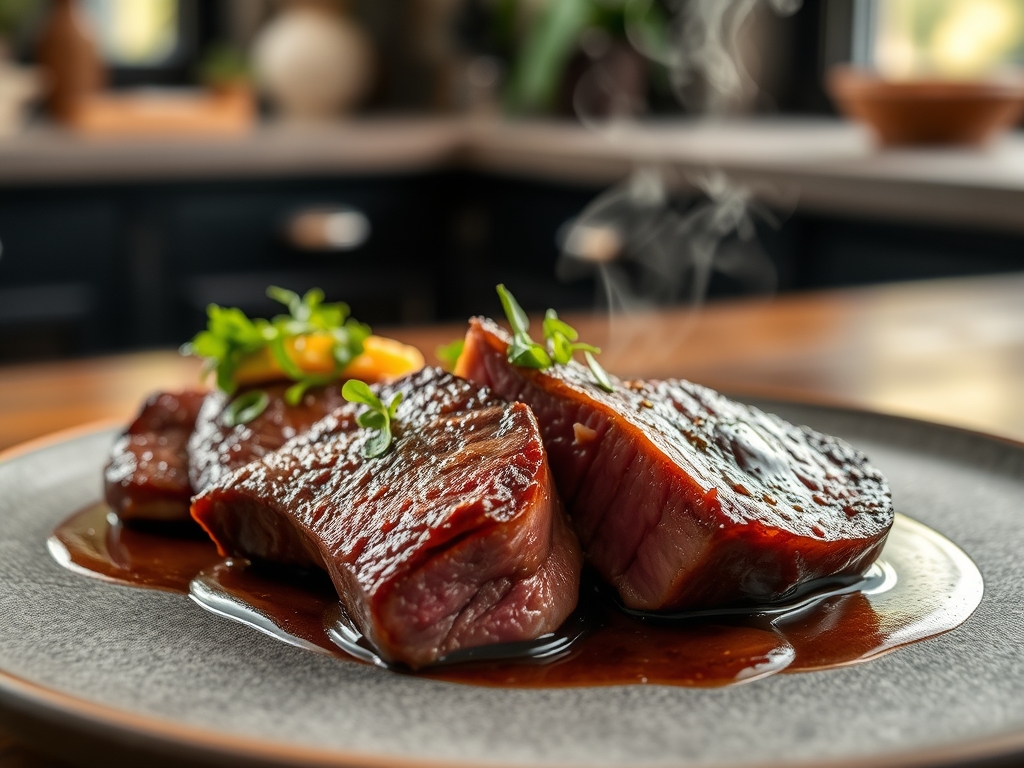
Imagine the scent of rendered fat hitting a blistering cast iron surface; a cloud of savory aromatics that signals the perfect dinner is minutes away. We have all been there, staring at an expensive cut of meat and praying to the culinary gods that we do not overcook it. This is where sous vide beef recipes change the game entirely. By utilizing a precision immersion circulator, you are no longer guessing. You are engineering the perfect bite. This method allows you to hold a steak at its peak physiological state for hours, ensuring that every fiber is tenderized while the moisture remains trapped inside the cellular structure. It is the ultimate insurance policy for your kitchen. Whether you are prepping for a quiet Tuesday or a loud Saturday night dinner party, understanding the thermal dynamics of water bath cooking will elevate your status from home cook to neighborhood legend. Let us dive into the mechanics of why this works and how you can master the art of the edge to edge pink interior.
The Gathers:
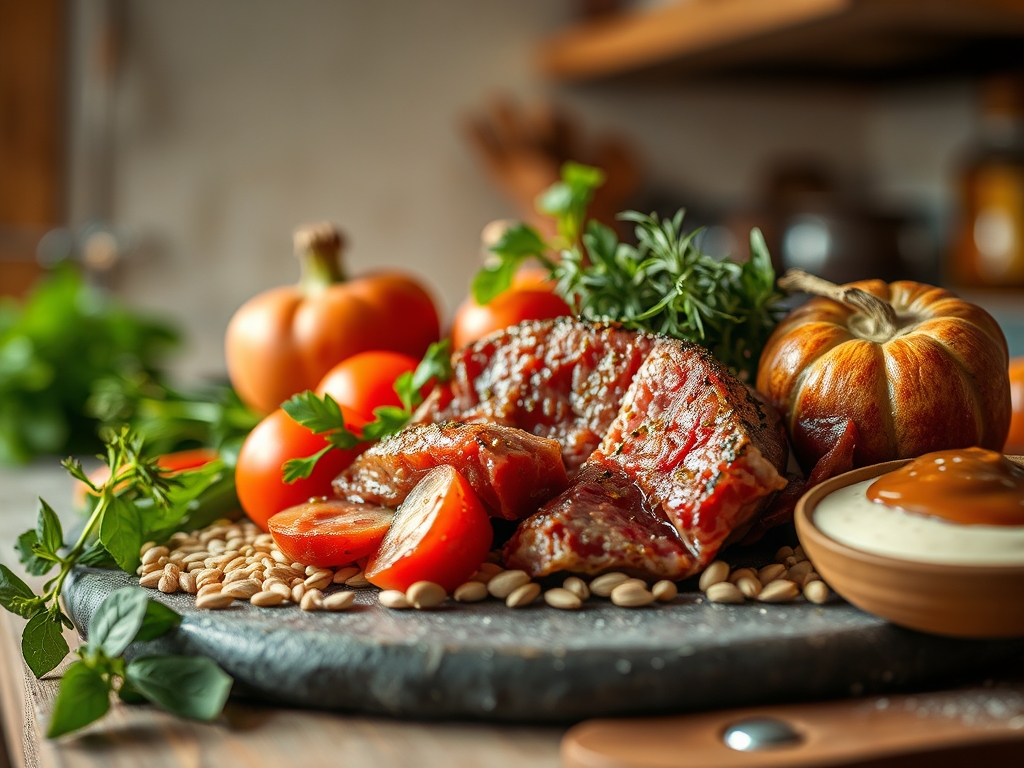
To execute these sous vide beef recipes, your mise-en-place must be precise. Start with a high quality cut like a thick ribeye or a lean filet mignon. You will need high smoke point fats; think avocado oil or clarified butter (ghee) rather than extra virgin olive oil, which will smoke and acridify at the temperatures required for a proper sear. Gather your aromatics: fresh sprigs of rosemary and thyme, and several cloves of garlic that you have smashed with the flat of a chef knife to release their essential oils. Use a digital scale to measure your kosher salt; precision matters when you are trying to achieve osmotic balance.
Smart Substitutions: If you lack fresh herbs, a high quality dried rub can work, but avoid powders with high sugar content as they will scorch during the finishing phase. For those avoiding dairy, replace the butter baste with a viscous tallow or a neutral coconut oil to maintain that luxurious mouthfeel. If you do not have a vacuum sealer, the displacement method using a heavy duty freezer bag works just as well to remove air and ensure proper heat transfer.
The Clock
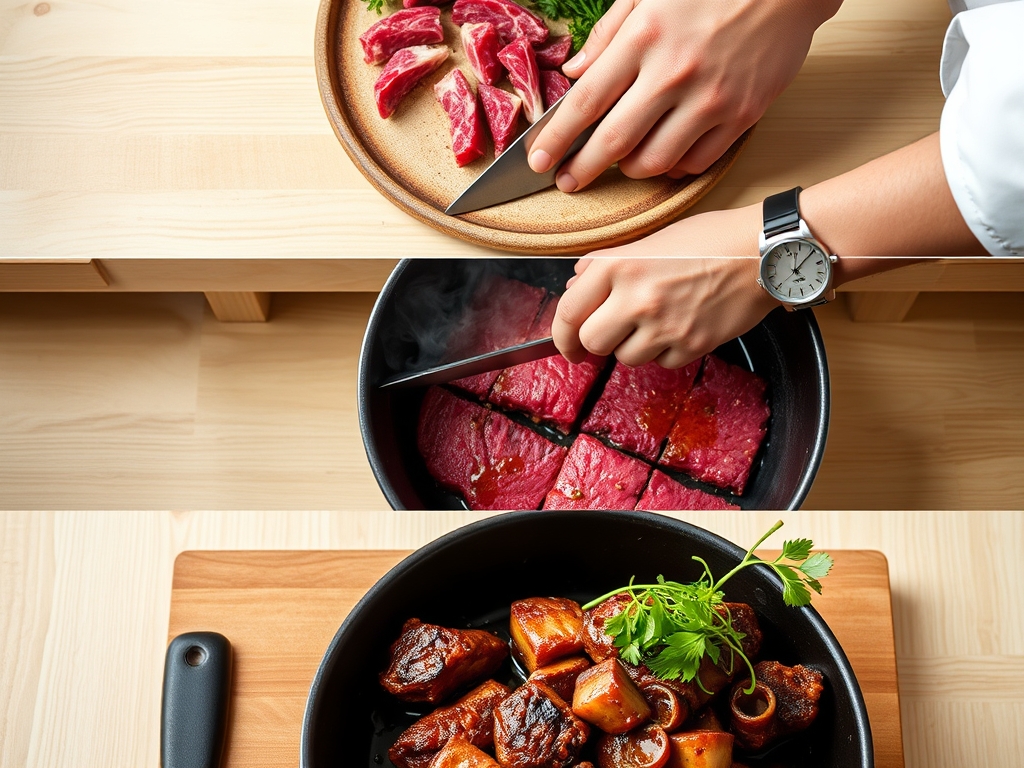
Efficiency in the kitchen is about understanding the "Chef's Flow." The preparation phase takes roughly 15 minutes; this includes trimming the silver skin with a sharp boning knife and seasoning. The cooking phase is the long game. For a standard 1.5 inch steak, you are looking at 1 to 3 hours in the water bath. This "passive time" is your secret weapon. Use it to prepare your sides or deglaze a saucier for a pan sauce. Finally, the finishing phase is a quick 5 to 7 minutes of high heat searing and resting. Total active labor is less than 25 minutes, but the results suggest you spent all day hovering over the stove.
Masterclass: 9 Tips for Perfect Sous Vide Beef
1. The Dry Brine Strategy
Season your beef at least 40 minutes before bagging. This allows the salt to penetrate the muscle fibers and reorganize the proteins, which helps the meat retain moisture during the long bath.
Pro Tip: This is known as denaturation. By breaking down the protein structure early, you ensure the salt seasons the interior, not just the surface.
2. Total Air Evacuation
Whether using a vacuum sealer or the water displacement method, ensure there is zero air in the bag. Air acts as an insulator and will prevent the water from heating the meat evenly.
Pro Tip: Uniform heat transfer is essential for thermal equilibrium. Any air pockets will result in unevenly cooked "gray zones" in your steak.
3. Temperature Precision
Set your circulator to 129 degrees Fahrenheit for rare or 131 degrees for medium-rare. Use a digital scale to ensure your water levels are correct for the displacement.
Pro Tip: Precision prevents the collagen from contracting too quickly, which would squeeze out the juices you are trying to keep inside.
4. The Ice Bath Shock
Once the timer goes off, drop the sealed bag into an ice slurry for 2 to 3 minutes. This drops the surface temperature of the meat rapidly.
Pro Tip: This prevents thermal carryover. If you sear a hot steak, the internal temp will spike. Chilling the surface allows for a longer, harder sear without overcooking the center.
5. Surface Desiccation
Remove the beef from the bag and pat it bone-dry with paper towels. Any residual moisture will turn to steam in the pan, preventing a crust from forming.
Pro Tip: The Maillard reaction cannot occur until surface moisture has evaporated. Water boils at 212 degrees, but browning happens above 300 degrees.
6. The Heavy Bottomed Skillet
Use a heavy-bottomed skillet, preferably cast iron or stainless steel. These materials have high heat capacity, meaning they won't drop in temperature when the cold meat hits the pan.
Pro Tip: High heat capacity ensures a rapid sear, minimizing the time the meat spends on the heat and preserving the edge to edge pink color.
7. The Butter Baste (Arrosage)
In the final minute of searing, add a knob of butter, smashed garlic, and herbs. Use a large spoon to continuously pour the foaming butter over the steak.
Pro Tip: This process, called arrosage, adds a nutty flavor through the toasted milk solids and ensures the aromatics infuse into every crevice.
8. Use a Microplane for Aromatics
If you want an intense flavor profile, use a microplane to grate a bit of fresh horseradish or frozen garlic directly onto the steak after it comes out of the pan.
Pro Tip: The residual heat will volatilize the aromatic compounds, creating a piquant aroma that hits the diner before they even take a bite.
9. The Rest Period
Even with sous vide, a 5 minute rest on a wire rack is beneficial. It allows the pressure within the muscle fibers to equalize.
Pro Tip: Resting allows the viscous juices to thicken slightly, ensuring they stay in the meat rather than flooding your cutting board.
The Deep Dive
From a nutritional standpoint, sous vide beef recipes are excellent for protein density. A 6 ounce serving of sirloin provides roughly 45 grams of protein with minimal added fats if you skip the heavy butter baste. For those on a Keto diet, this is a staple; for Vegan guests, you can apply these same circulator techniques to root vegetables like carrots or beets to achieve a "meat-like" texture.
The Fix-It:
- Bag Floats: Use a heavy spoon or a dedicated sous vide weight to keep the bag submerged. Floating leads to unsafe bacteria growth.
- Weak Crust: Your pan wasn't hot enough. Wait until the oil is shimmering and just starting to smoke.
- Tough Meat: You likely didn't cook it long enough. Tougher cuts like chuck need 24 to 48 hours to fully render the connective tissue.
Meal Prep: To reheat, do not use a microwave. Place the leftover steak back in a water bath at 120 degrees for 20 minutes. This restores the "day-one" quality without changing the cook level.
The Wrap-Up
Mastering sous vide beef recipes is about embracing the intersection of science and flavor. By controlling the variables of time and temperature, you remove the anxiety of the kitchen. You are left with a steak that is consistently perfect; buttery, tender, and intensely flavorful. Grab your tongs, fire up your circulator, and prepare to be the hero of your next dinner party.
The Kitchen Table
Can I overcook steak in a sous vide?
While it is hard to "overcook" in terms of temperature, leaving meat in too long can turn the texture mushy. Most steaks should not exceed 4 hours in the bath.
Do I need to sear after sous vide?
Yes. The water bath cooks the interior, but it does not create the flavor-rich crust. A quick sear in a heavy-bottomed skillet is essential for the best taste.
Can I put frozen steak in the sous vide?
Absolutely. Just add an extra 60 minutes to the cook time. The immersion circulator will safely thaw and cook the beef simultaneously.
Is plastic safe for sous vide?
Use only food-grade, BPA-free bags designed for high temperatures. Heavy-duty freezer bags or vacuum-seal bags are the industry standard for safety and durability.